Clair Obscur: Expedition 33 is full of mysteries! A lot of things are meant for players to uncover on their own, but that can also make you miss out on cool items or buffs if you don’t know where to look! In this guide, we’ll walk you through some hidden secrets and mechanics the game doesn’t fully tell you, so you can get the most out of your adventure!
Make Sure to Explore the Prologue!
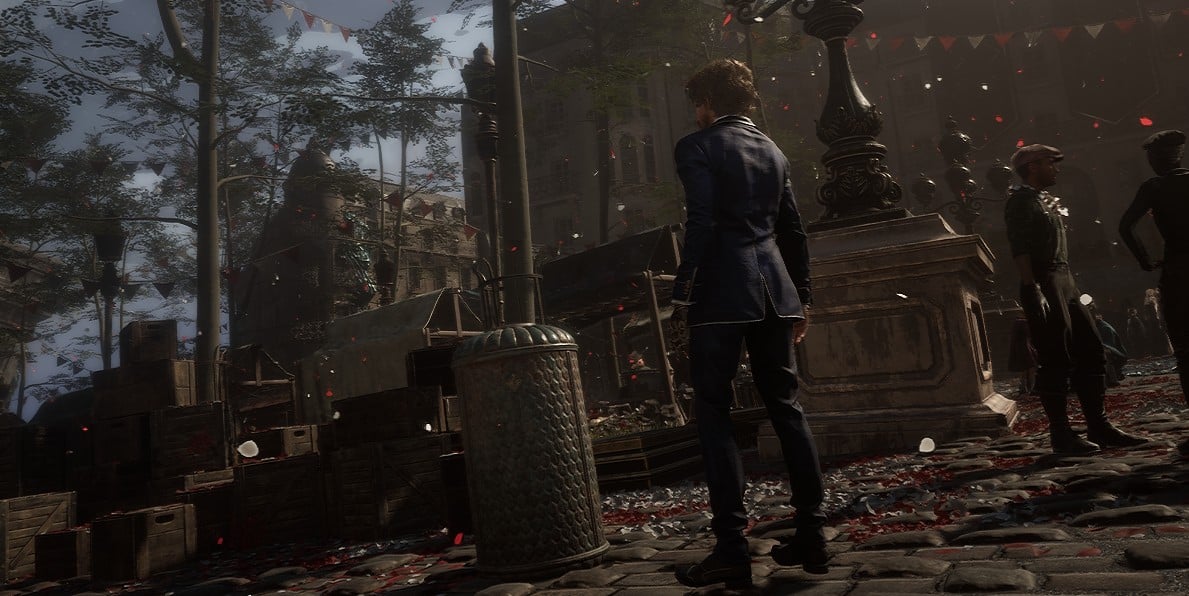
While the prologue might seem like just a simple walk down the road towards the shore for the Gommage, it actually rewards you with a ton of items that you will need later on! Make sure to talk to every NPC you find; some of them will give you Chroma or other useful items just for speaking with them before they disappear.
You can also find a Mime on the right side before reaching the shore. If you fight it, you get a music record. While you can get this record later in another place, you won’t be able to return to fight the Mime once you move on, so be sure not to miss it.
Additionally, keep an eye out for trash cans during your walk. One of them is very special!
Get All Three Tokens on the Shore!
After the Gommage in the prologue, once you are on the shore, make sure to collect all three tokens to exchange with vendors. You get one automatically for reaching the zone, the second from answering the questions of a bald NPC, and the third from defeating Maelle in a duel near the water. One of the vendors rewards you with a key that you will need later on, so don’t miss it!
To make it easier, talk to all the NPCs around the area before moving forward. Some of them give hints about the quiz questions, saving you some time.
Resting Points Are Useful, but Come With a Twist!
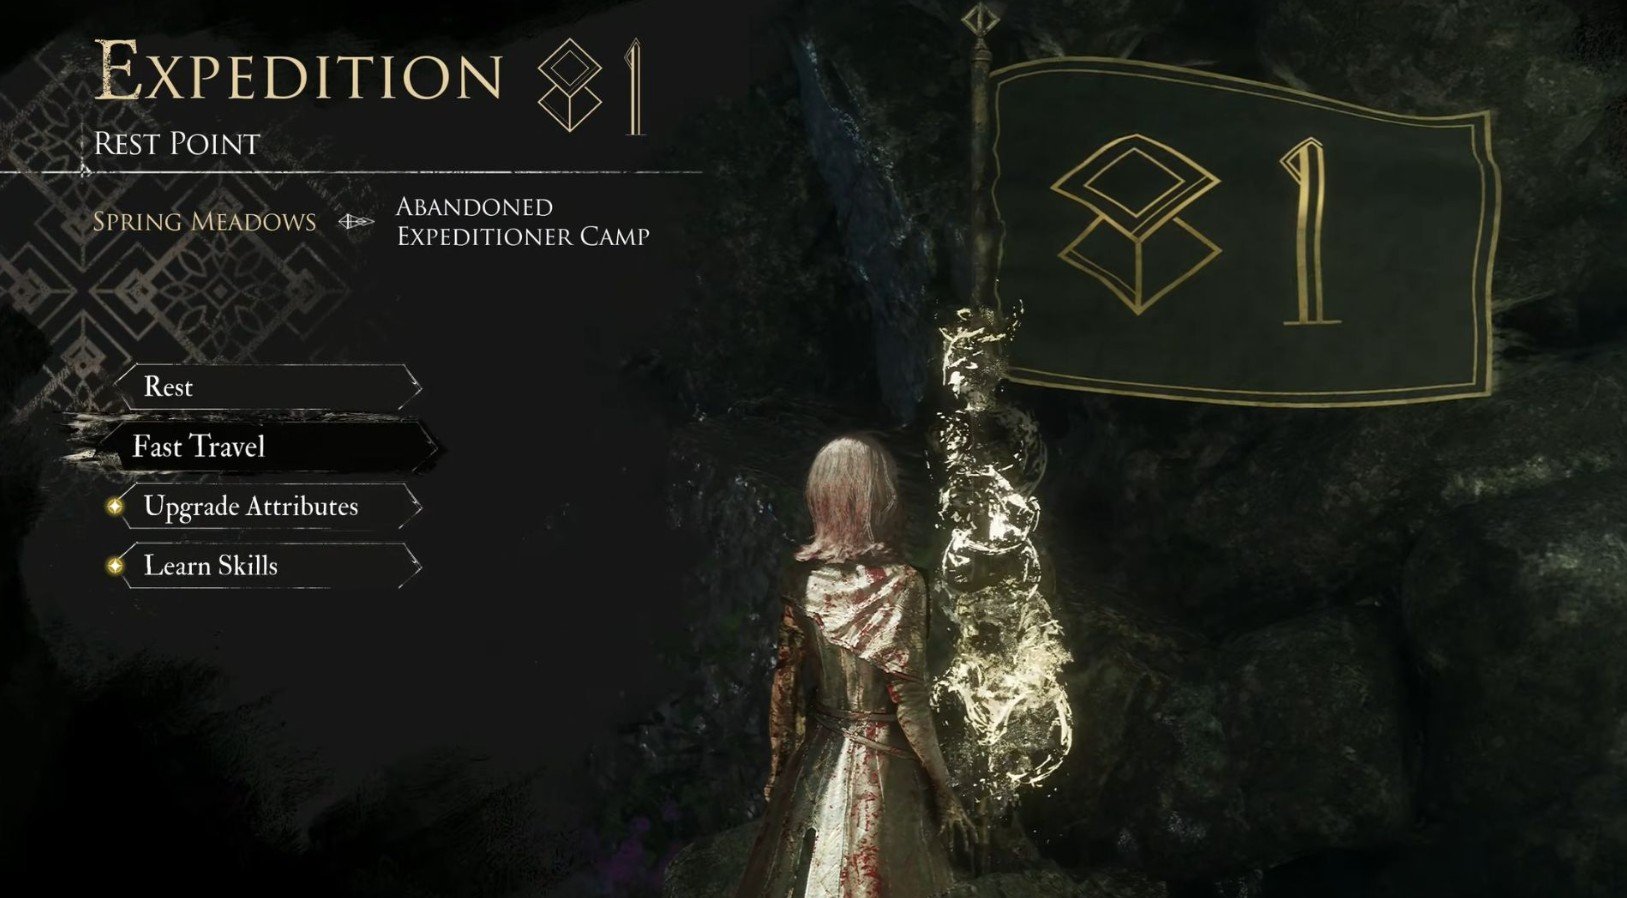
When you reach the continent and explore the zones, you will find resting points left behind by previous expeditions. They are numbered and allow you to rest and get your skill points. However, one thing the game doesn’t tell you is that using them respawns all the enemies in the area. If you fought a dangerous one, maybe wait until you are really ready before you rest up!
Also, check each resting point carefully; some have hidden notes or loot nearby that you might miss if you only use them to rest. There is sometimes hidden path nearby that lead to great rewards.
Luminas and Picto – How They Work
The game doesn’t really explain everything about these systems. Always equip the new Picto you get, as this allows you to unlock its bonus. Once they are unlocked, you can use them as Luminas, which lets you get the bonus effects without taking up a slot in your Picto. You can also increase the number of Luminas you can equip.
One important thing to remember: using the same Picto as both a Picto and a Lumina on the same character is not very effective. You are better off mixing different ones to get more bonus effects.
To make it even better, try experimenting with different combinations. Some setups work better against specific enemy types!
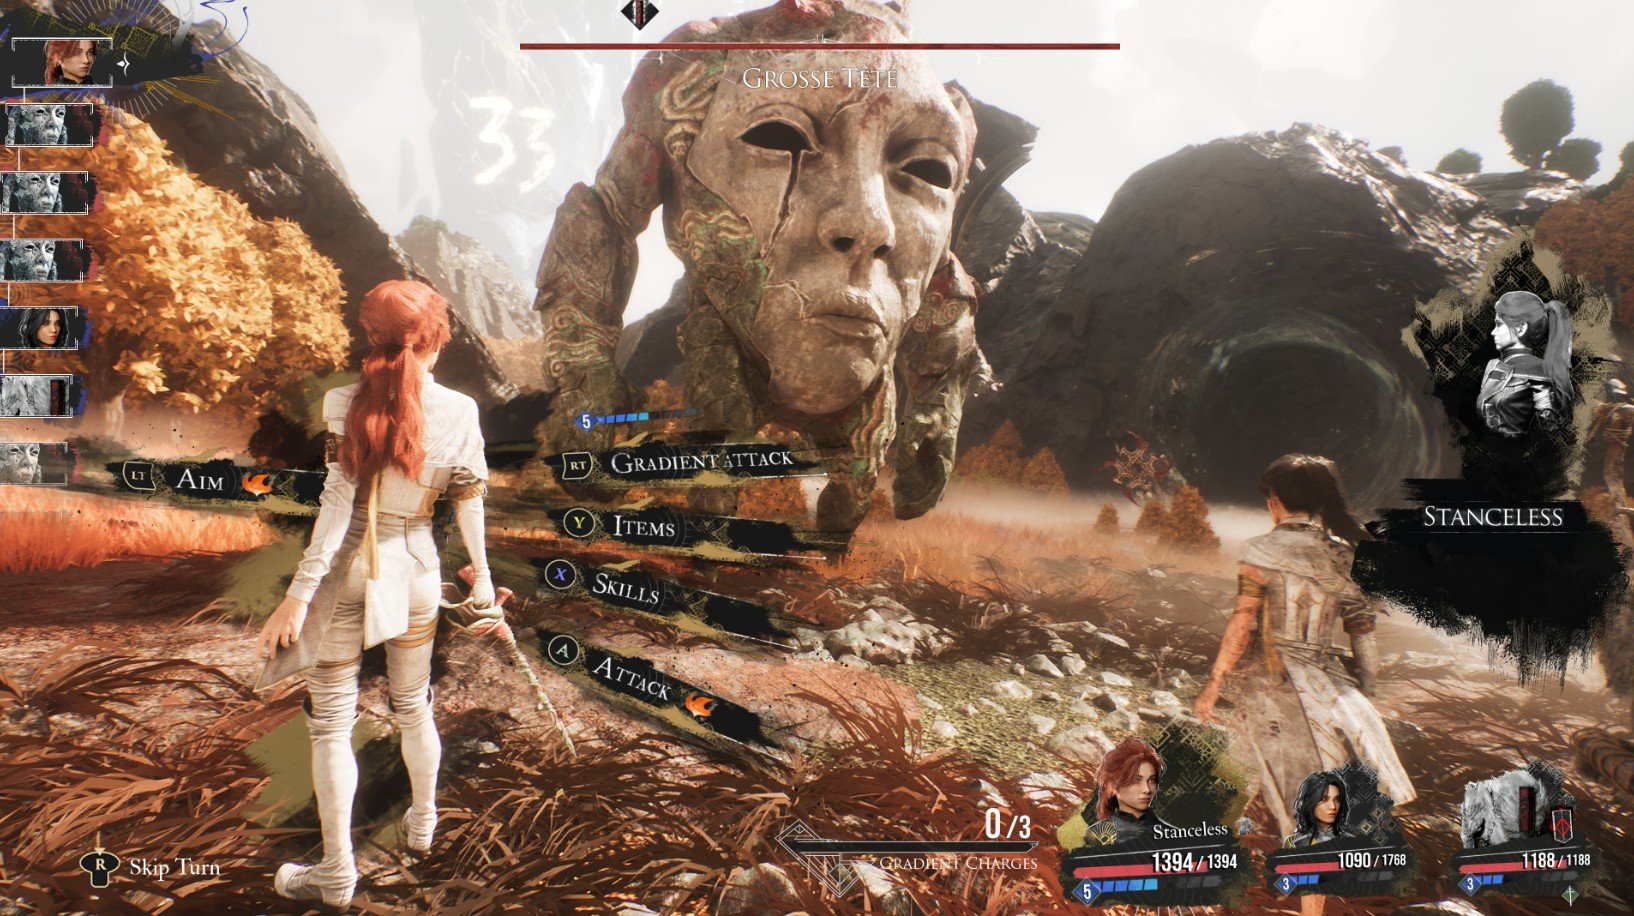
Guns VS Shields!

Some enemies have shields that require multiple hits to break. One hit, removes one shield. A good strategy is to use aimed shots with your first character in line to break the shields. This lets your other characters hit the life bars directly, especially if you have multi-target skills equipped. This can save you a whole turn of damage!
Additionally, some pictos have passive skills that increase shield damage, be sure to check your gear!
Shields VS Break Bar

The shields are not the same as the Break Bar under the enemy’s life. The Break Bar is a small yellow bar that increases when you deal damage. For example, against Mimes, you need to break this bar to deal efficient damage. Otherwise, the fight takes forever.
Not every skill can break the bar. A good example is Gustave’s Overcharge. When the Break Bar is full, hit the enemy with Gustave’s Overcharge (or another Break skill. It will be noted in the skill description). This will stun the enemy, allowing you to deal way more damage. The stun effect lasts for one turn.
Don’t Kill the White Nevrons!
During your journey, you will find friendly Nevrons. You can talk to them and they don’t attack you. They often have some sort of problem and require you to bring them an item that you can find nearby (like fire or a mine). You can choose to attack them afterward, but we recommend you don’t. First, because they’re nice, and second, because if you kill them, you miss out on useful rewards!
Helping them out also sometimes triggers hidden events or rewards you wouldn’t get otherwise!
Hunt Down the Mini Bosses!
When exploring, you can sometimes find mini-bosses. They are usually bigger than regular monsters and guard a purple object or a chest. The rewards are often better than the usual Chroma, but be careful, they hit harder than normal enemies.
Defeating them can also unlock shortcuts or access to hidden areas, so it’s always worth the challenge.
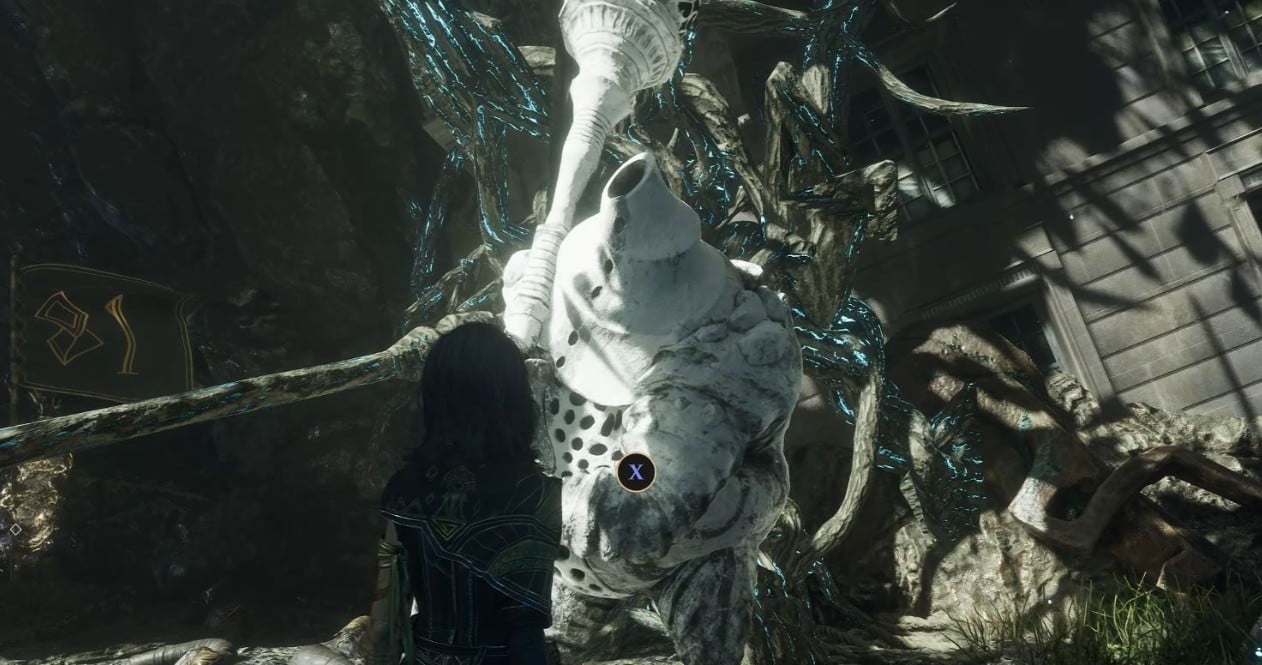
Paint Cages – How to Open Them
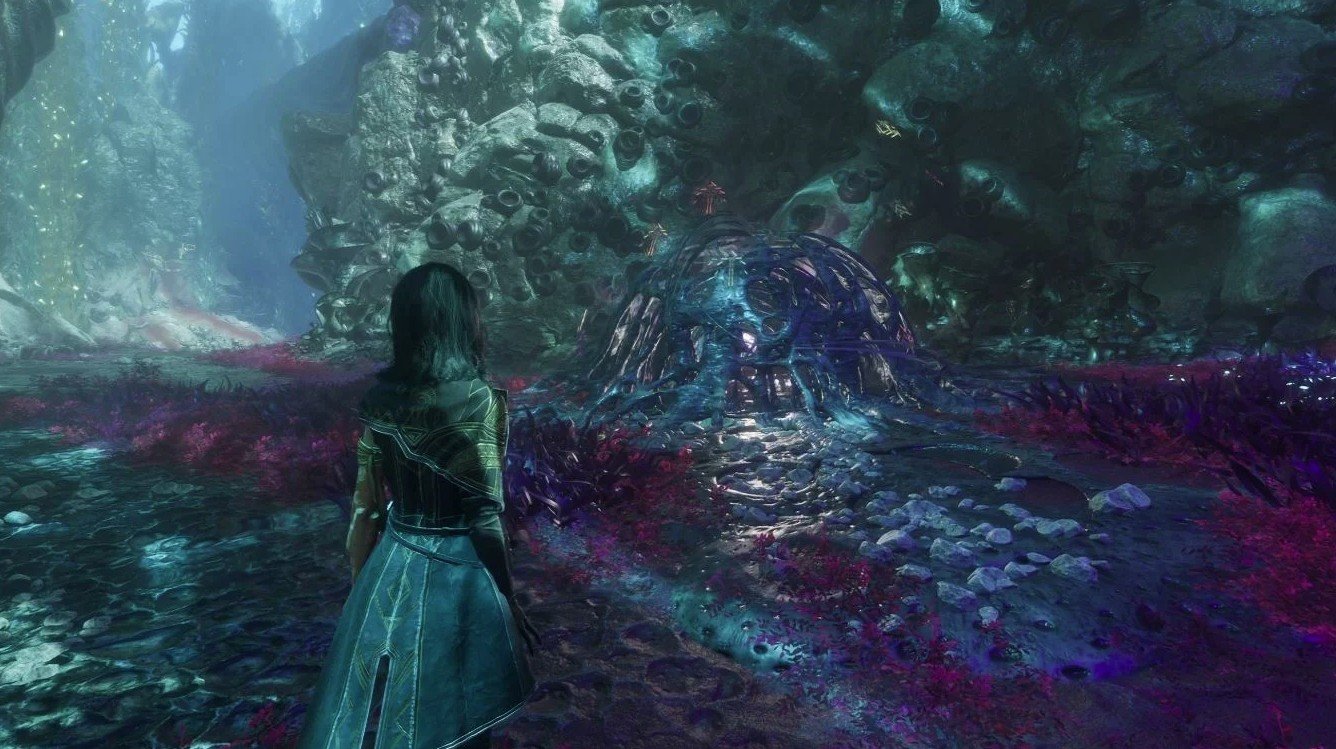
The first Paint Cage you encounter is in Flying Waters. They are special chests with special rewards. They aren’t really painted, more like weird-looking balls. To open them, you need to find three similar-looking objects in the area and shoot them. Typically, they’re hidden high up, behind pillars or trees, but they are always within the surrounding area. Don’t look too far!
You have three to shoot at with your aimed shot. Once all three are activated, you can open the Paint Cage.
Make sure to double-check corners and behind objects. Sometimes the last ‘key’ is sneakily hidden!
While the game has many more hidden secrets, these are the most important ones to help you get more rewards and have an easier time exploring!