Empyrean Sands is set among sandy dunes and the ruins of an ancient temple. At the heart of the temple, Sin-Magir rises in the night, empowered by the constellations and light of the moon. His followers gather within the dunes nearby, threatening to discover the celestial relic that would restore their empire.
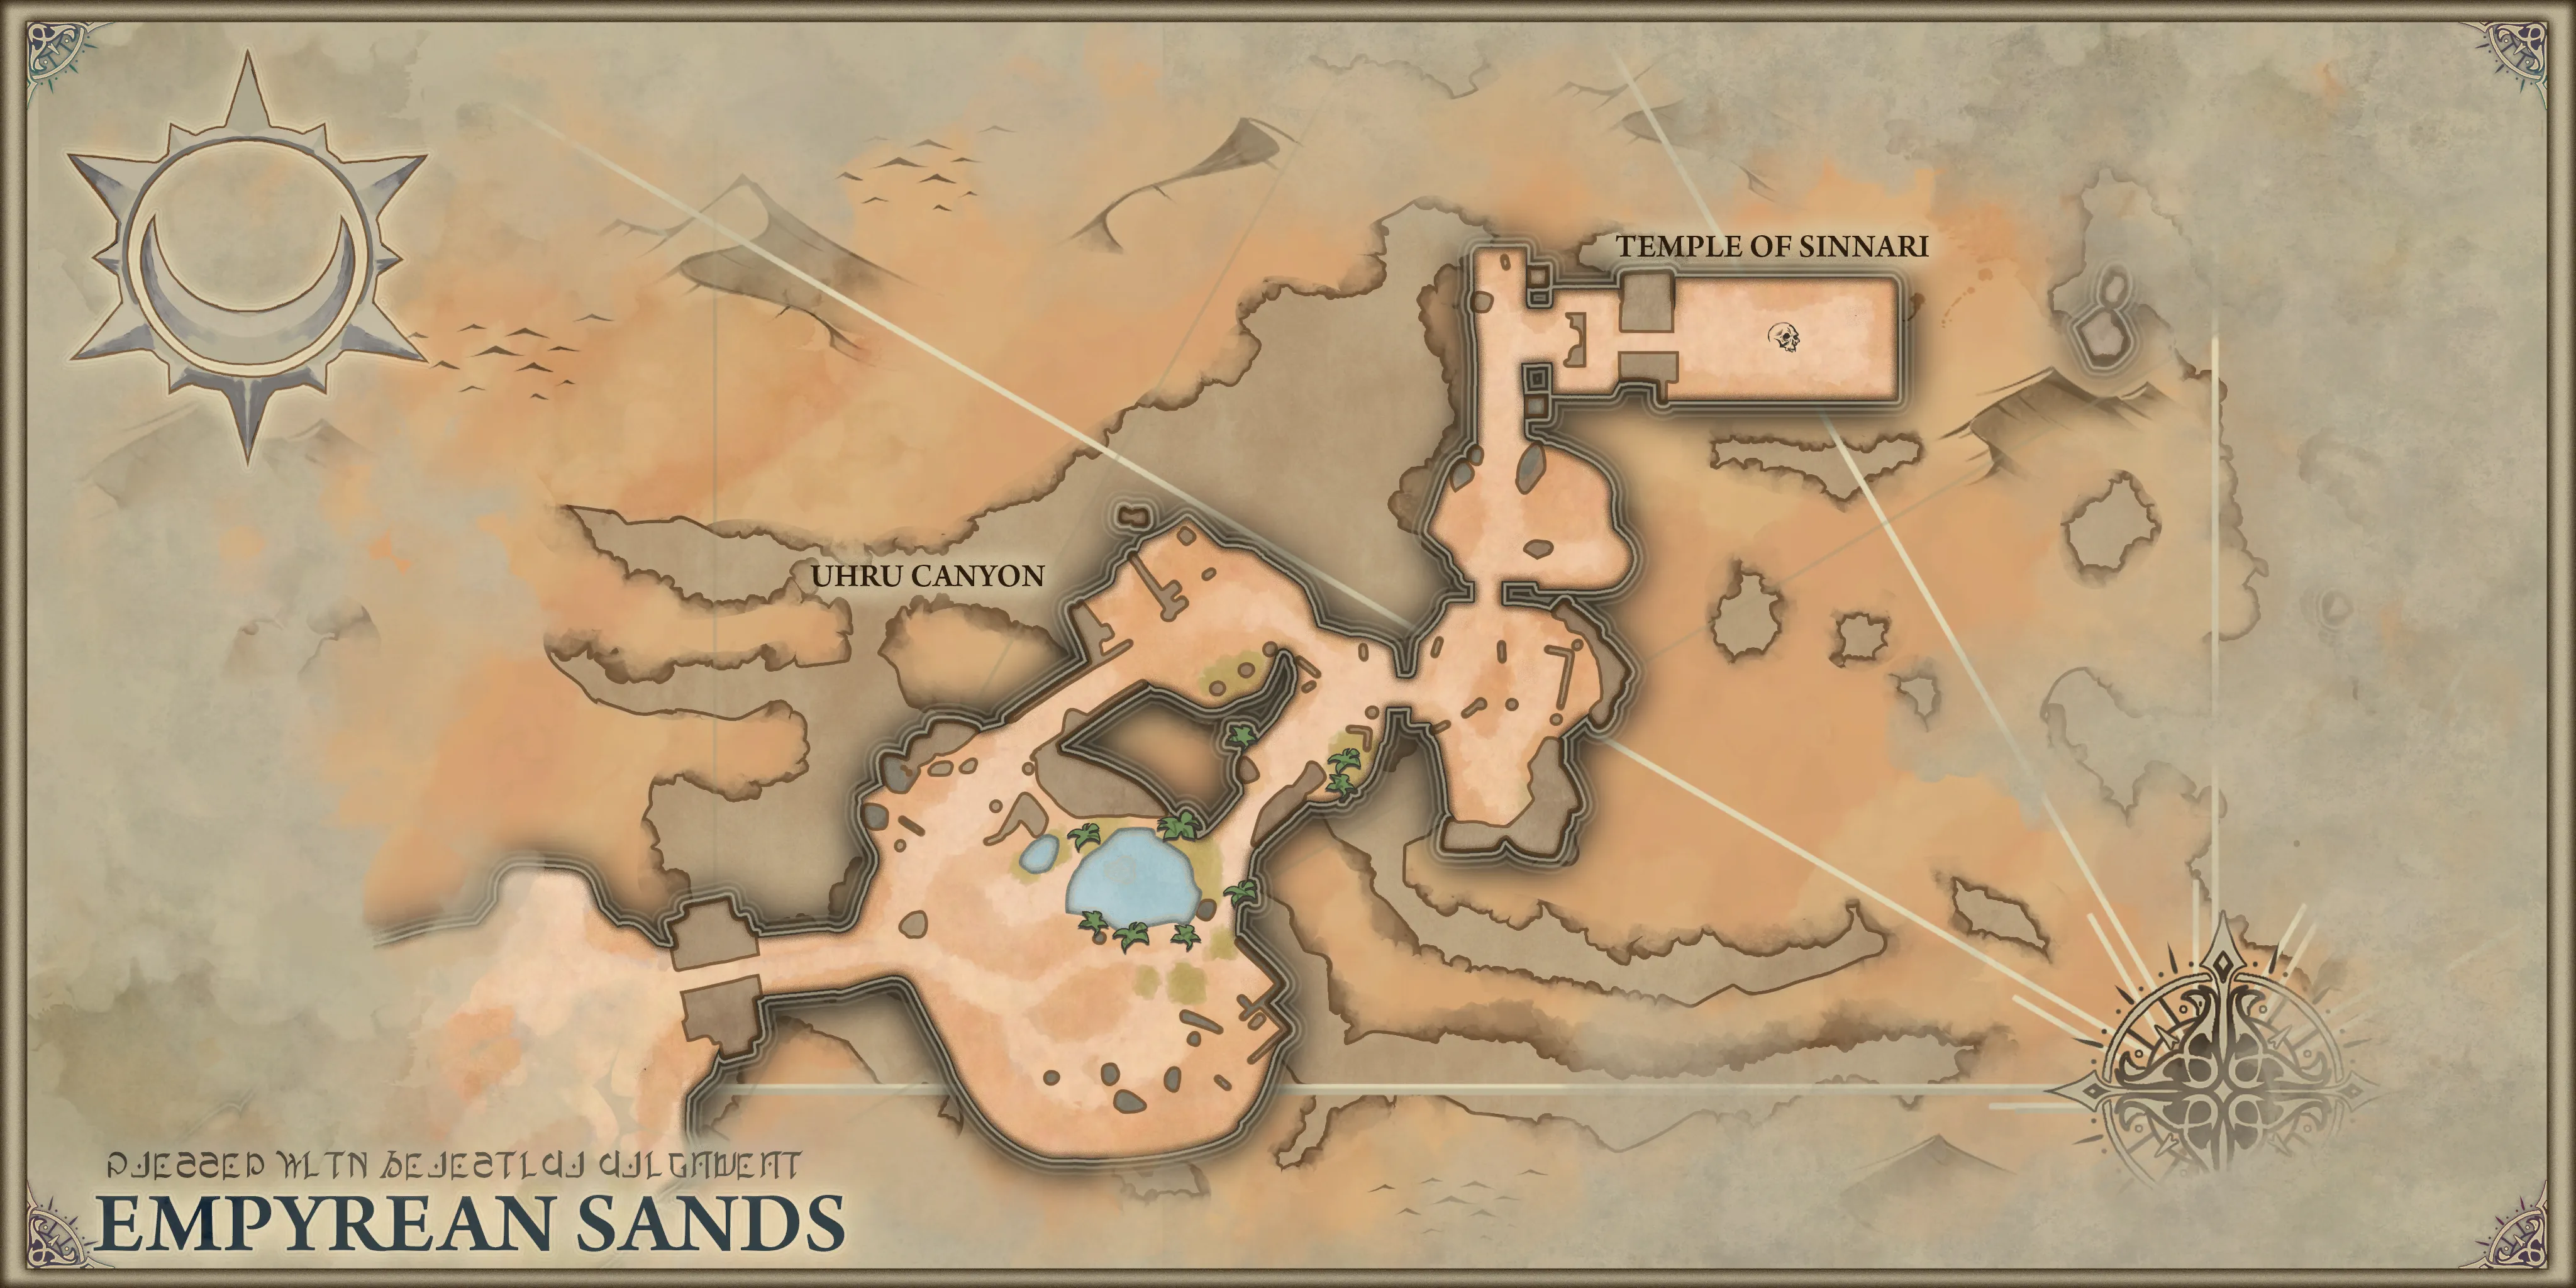
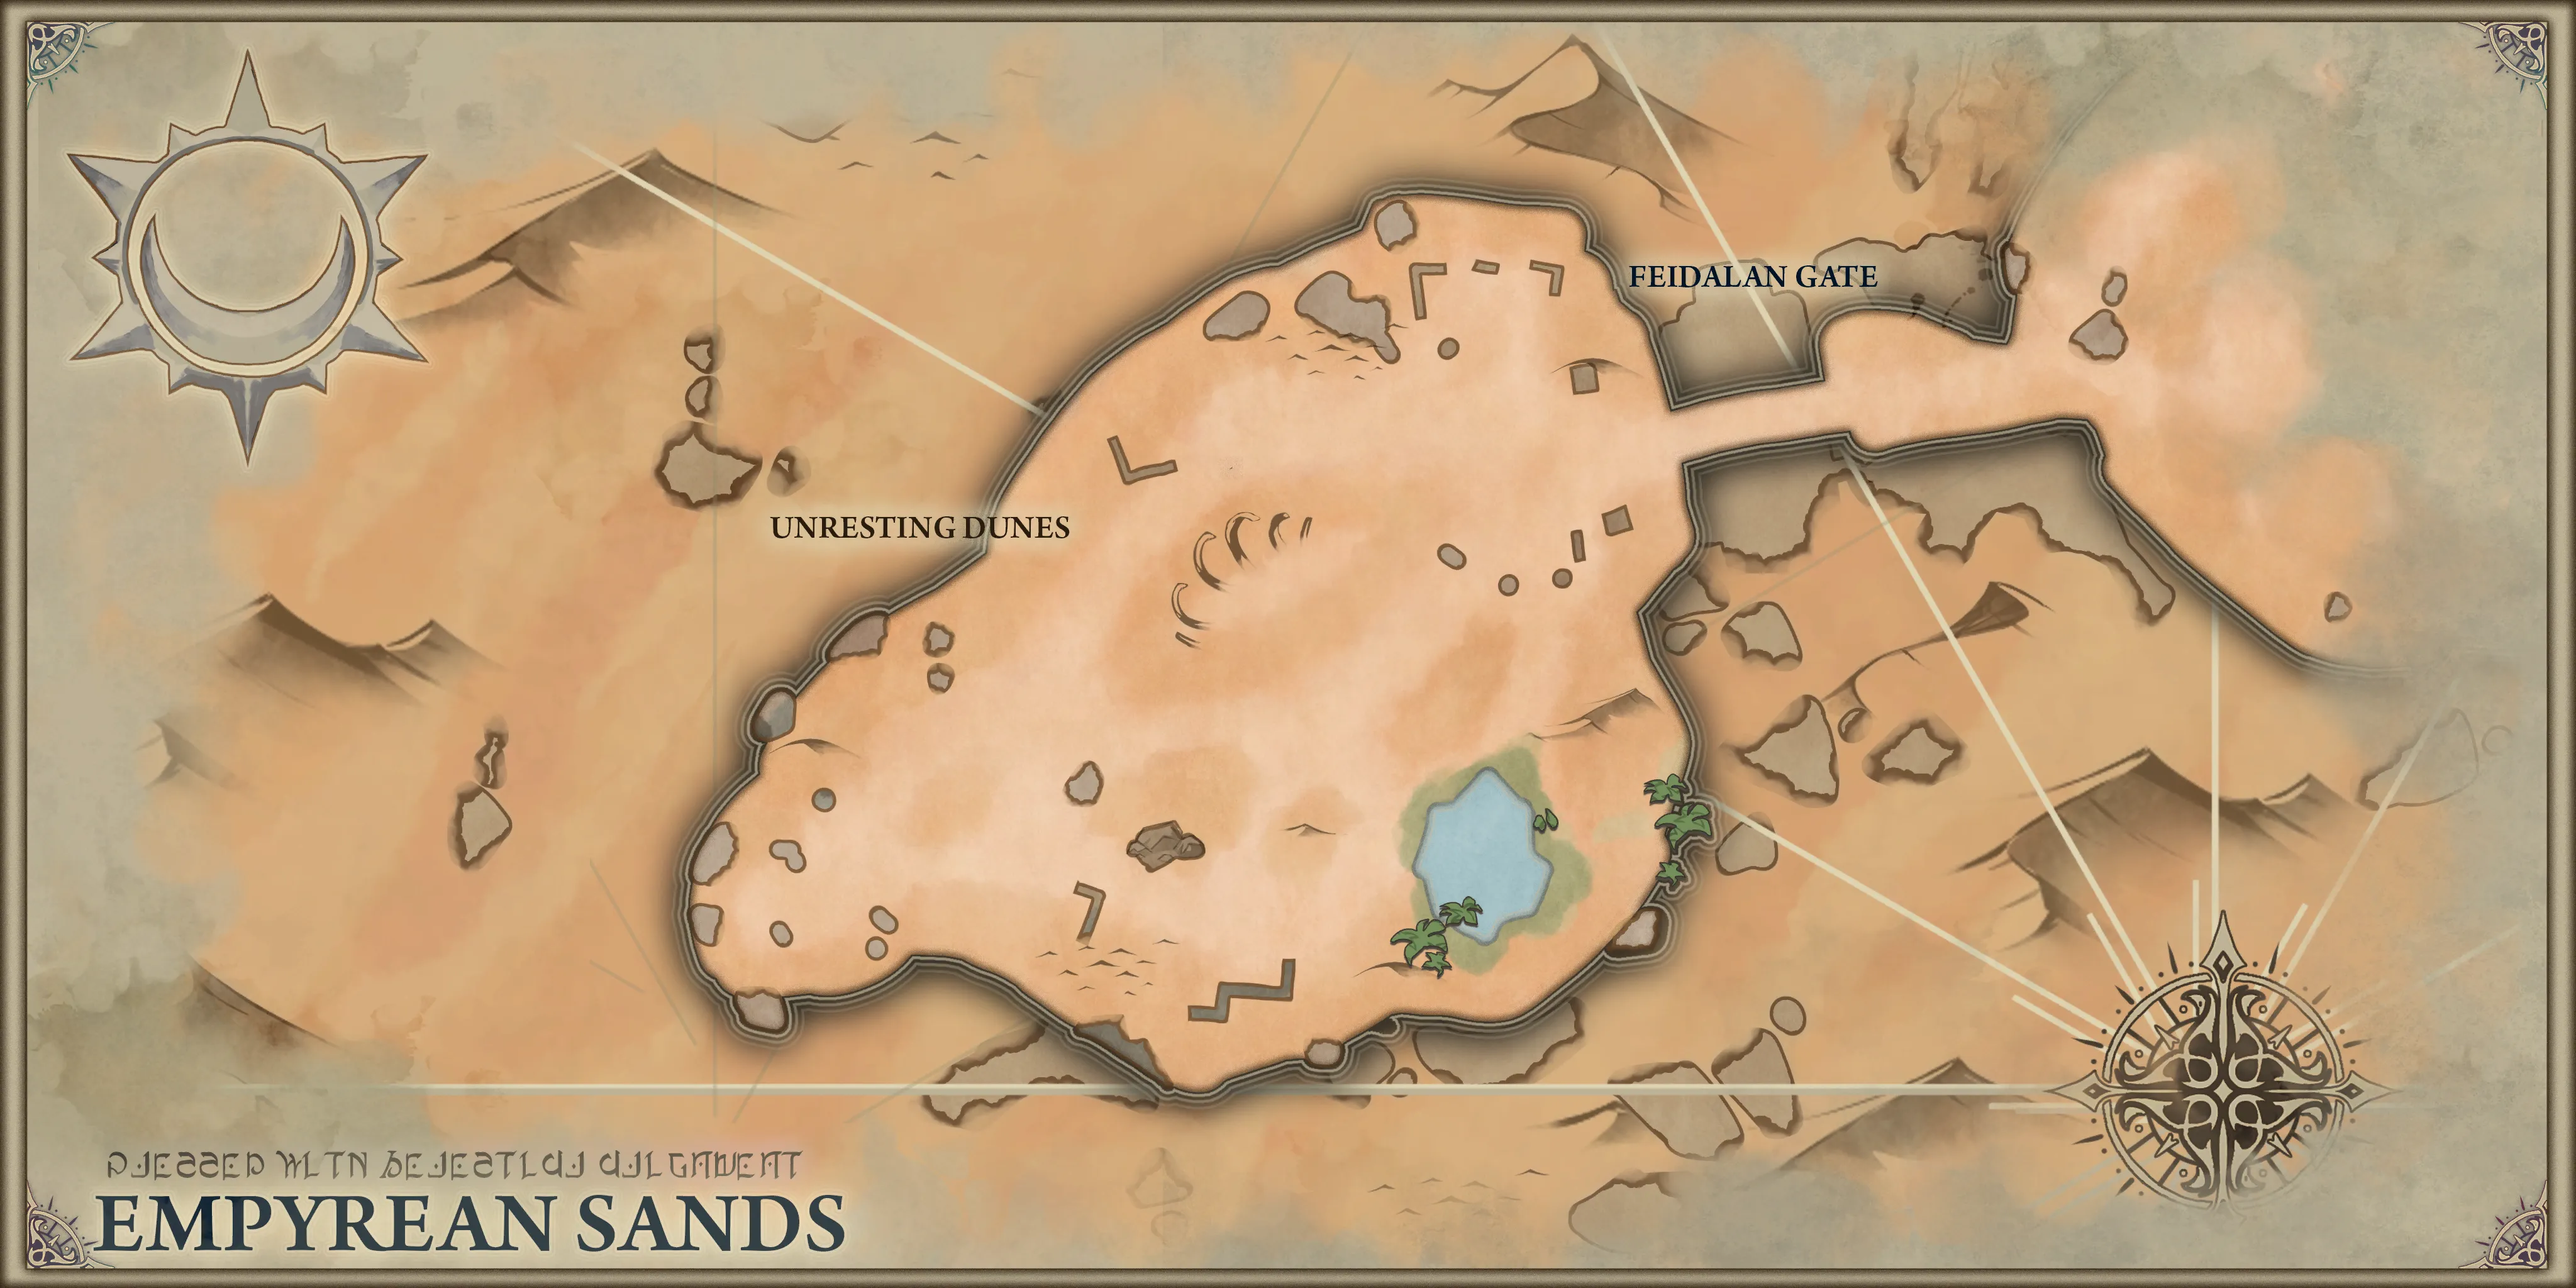
Empyrean Sands Map
Empyrean Sands Trash Mobs
| Enemy | Name | Score | Stunnable | Abilities |
|---|---|---|---|---|
 | Sandsworn Husk | 2 | Yes | Auto Attack Basic melee physical damage attack |
 | Dunesnare Hunter | 3 | Yes | Auto Attack Basic ranged physical damage attack Soulpiercer (Dispellable) Take aim at a player other than the current target. After a delay, lock aim in place. After another delay, fire a piercing projectile in a straight line. Deals heavy damage and reduces the stats of anyone hit. Trap (Adept+) Places a trap at a random player’s location that activates after delay. Once activated if a player comes into contact with it, they take heavy damage and are rooted in place for few seconds. |
 | Gravebreaker Brute | 5 | No | Auto Attack Basic melee physical damage attack Decimate After 3 seconds, deal damage in a small radius around you. Crescent Cleave (Adept+) Target a random player with a large cone attack. After a delay, deal heavy damage and knock up anyone caught in the cone. |
 | Tombguard Reaver | 3 | No | Auto Attack Basic melee physical damage attack Charge Target a random player. After a short delay, charge in the direction of the target’s location on cast. Deal damage and knockback any players hit. Whirlwind (Adept+) Target a random player then start a whirlwind attack. While using Whirlwind, reduce movement speed. Deal heavy damage in quick succession to those in close proximity. |
 | Acolyte of Sinnari | 3 | Yes | Auto Attack Basic melee physical damage attack Collapsing Star (Dispellable) Apply a DoT to a random target once every 18 seconds. Sinnari’s Wrath (Interruptible) (Priority) After 3 seconds, apply a self-buff that deals damage periodically throughout its duration to random party members. |
 | Gravescythe | 2 | Yes | Auto Attack Basic melee physical damage attack Dark Cleave Deals damage in a cone, targeting the player with the highest aggro. |
 | Greedspawn Sentinel | 5 | Yes | Auto Attack Basic melee physical damage attack Greed’s Embrace (Interruptible) Channel, reducing Greedspawn Sentinel’s damage received and applying a DoT and Haste effect to anyone hit. This is applied to both players and enemies. |
 | Nightbound Magi | 5 | No | Auto Attack Basic melee physical damage attack Shadow Bolt (Interruptible) After 2 seconds, deal damage to target. Constellation of Ruin Spawn a circle near each party member. After a delay, the circle explodes, dealing damage to any party member inside. If no targets are within the circle, deal high party-wide damage. |
 | Ruins Lasher | 1 | Yes | Auto Attack Basic melee physical damage attack |
 | Barbarous Lasher | 5 | Yes | Auto Attack Basic melee physical damage attack Crush Armor (Dispellable) Deal heavy damage to target and reduce their armor. Wicked Thorns Reflect a portion of damage taken at the attacker. |
 | Water Elemental | 3 | Yes | Auto Attack Basic melee physical damage attack Healing Waters (Interruptible) (Priority) After 3 seconds, heal 1 target within a 40yd range for a significant amount. 20 second cooldown. Hydrobolt (Interruptible) Aim at a target outside of melee range and within 40 yds. After 2 seconds, deal a large amount of damage to the target and others within radius. |
Notable Trash Enemy Abilities
Dunesnare Hunters main ability across all difficulties is Soulpiercer. It’s an ability to avoid as it has high damage and gives a stacking debuff that reduces your stats. Their second ability, Trap, starts to show up in Adept+. Their Traps can turn a battlefield into a minefield as these do not despawn unless someone steps into it, taking a high amount of damage and being rooted in place. Traps can be deadly in conjunction with their Soulpiercer.
Having high ground won’t save you from having to evade their shots as Soulpiercer can be aimed vertically.
Gravebreaker Brutes can Decimate those nearby. It is avoidable by leaving melee range. In Adept+, they begin to use Crescent Cleave, a conal ability that does high damage and knocks up anyone in its range. This can cause issues if you end up getting knocked up and into inactive mobs, thereby earning their aggro.
Tombguard Reavers will Charge at a target, knocking them up and away. Similarly to the Gravebreaker Brute’s Crescent Cleave, this ability does a good amount of damage while posing the threat of knocking you into aggro range of other mobs.
Acolyte of Sinnari have two abilities to pay attention to across all difficulties: Collapsing Star and Sinnari’s Wrath.
Collapsing Star is DoT for the healer to pay attention to and dispel. There is no cast time or warning for when this will be cast and who it might end up being cast on. Watch the health bars for any debuffs that appear and dispel as soon as possible.
Sinnari’s Wrath is a high priority interrupt. If this cast goes through, it will deal high damage throughout its duration and can easily be lethal.
Nightbound Magi don’t have any other interruptible ability than Shadow Bolt. Pay attention to their Constellation of Ruin and be prepared to soak the mechanic. Constellation of Ruin can easily wipe the party if left unattended.
Gravescythes have a cleaving ability, make sure that no one is standing next to the tank when puling these guys.
Greedspawn Sentinels have 1 interruptible ability, Greed’s Embrace. This ability can be used to your advantage since it applies a DoT to both enemies and allies.
Barbarous Lashers can Crush Armor, giving you a significant debuff to your Armor stat. This is not dispellable, so exercise caution when pulling Barbarous Lashers into large groups of physical damage mobs.
When pulling Water Elementals, be sure to prioritize their Healing Waters cast and for everyone to stand in melee range to prevent them from casting Hydrobolt.
Route
We will go over one of the possible routes in Empyrean Sands. When choosing a route to take, we must remember to avoid pulling more than three caster mobs with priority interrupts and avoid overcapping the Kill Score requirement.

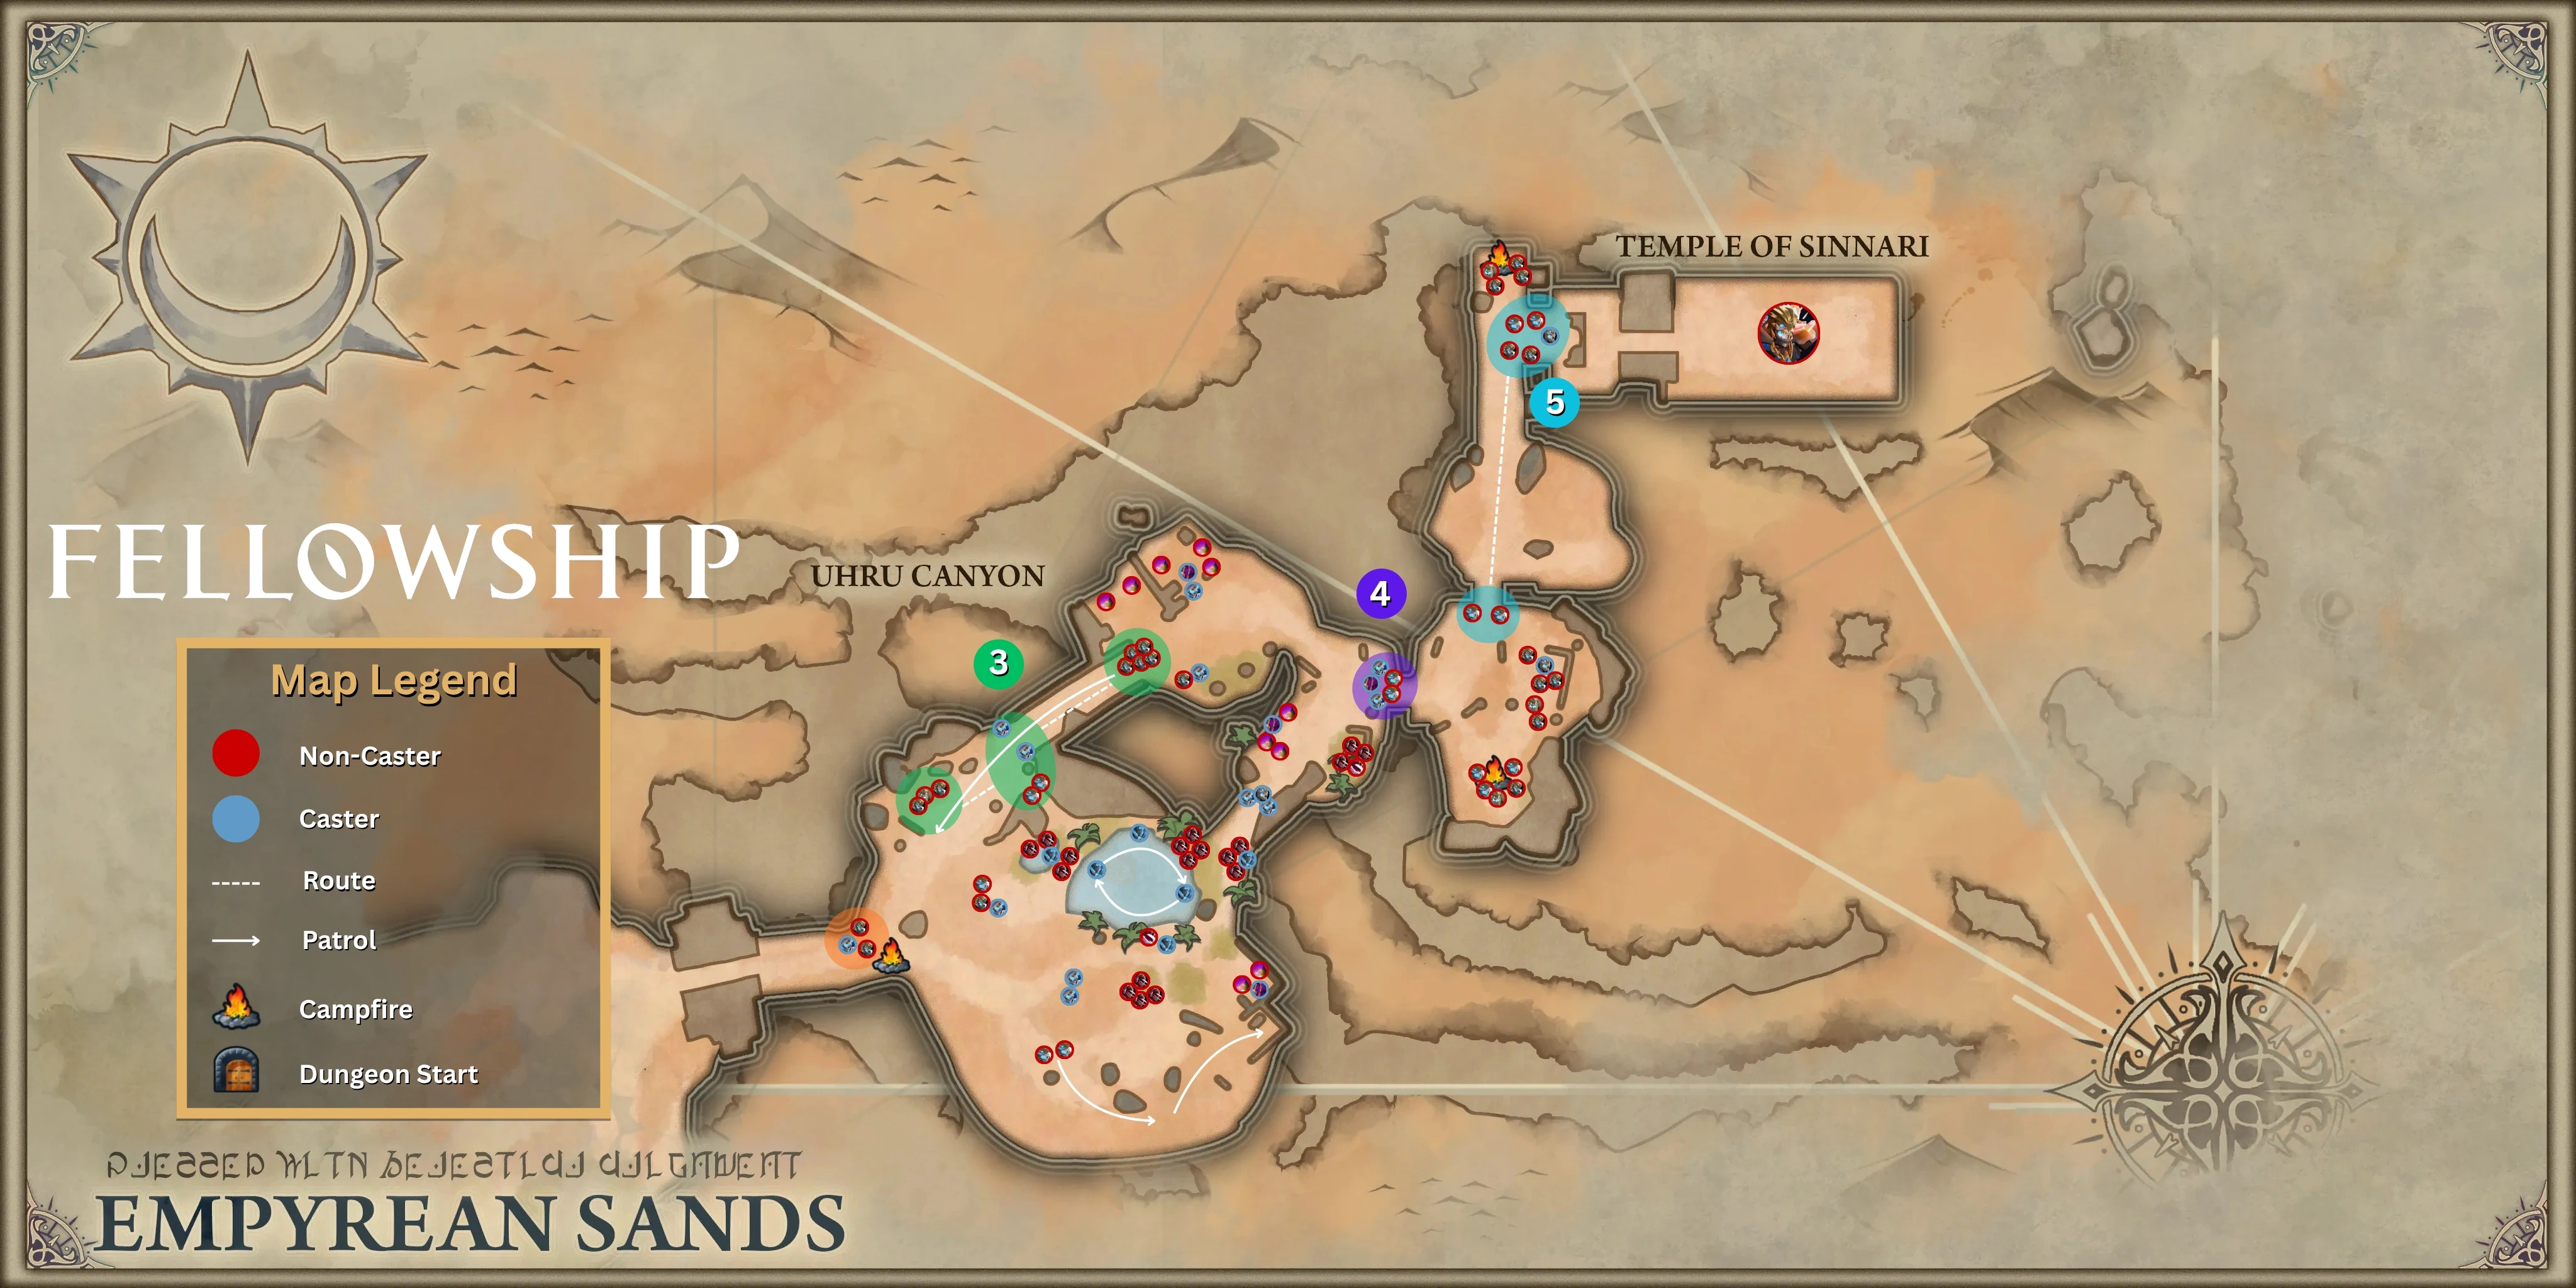
| Pull | Pull Size | Kill Score | Enemies |
| 1 | 14 | 32 | 9 Sandsworn Husks, 3 Dunesnare Hunters, 1 Tombguard Reaver, 1 Gravebreaker Brute |
| 2 | 10 | 28 | 4 Sandsworn Husks, 3 Tombguard Reaver, 1 Gravebreaker Brute, 1 Dunesnare Hunter |
| 3 | 12 | 32 | 6 Sandsworn Husks, 1 Tombguard Reaver, 1 Gravebreaker Brute, 2 Dunesnare Hunter |
| 4 | 5 | 23 | 2 Dunesnare Hunters, 2 Acolyte of Sinnari, 1 Gravespawn Sentinel |
| 5 | 7 | 17 | 4 Dunesnare Hunters, 2 Tombguard Reaver, 1 Nightbound Magi |
| Total Score | 132/130 |
This guide will refer to the different pulls by their corresponding number on the above map and table.
1. This is going to be the hardest pull in the dungeon. You can use the ruins on the left with the final group (two Sandsworn Husks, one Gravebreaker Brute, one Dunesnare Hunter) to grab to LoS the ranged mobs. The ranged mobs should bunch up close enough for your party to hit them with their AoEs/cleave abilities. Avoid all enemy abilities the best you can.
2. Pull past the mobs to the corner of the wall opposite of the campfire. Avoid the Tombguard Reaver’s Charge ability and, in Adept+, their Whirlwind and the Gravebreaker Brute’s Crescent Cleave.
3. When pulling the Dunesnare Hunters, use the broken pillar on the right side of the bridge to LoS them into coming closer. Don’t worry about going to grab the patrolling group of 4 Sandsworn Husks and 1 Tombguard Reaver, they will come across the bridge to you.
4. You could chain pull this into the two Dunesnare Hunters from the beginning of Pull 5 by passing through the archway they’re stationed at and taking a sharp left to LoS them. All casters/ranged mobs in this pull should get clumped at the archway by doing this. Use the Greedspawn Sentinel’s Greed’s Embrace to your advantage by not kicking this ability and having all the enemies sit in its radius.
Prioritize interrupting the Acolyte of Sinnari’s Sinnari’s Wrath ability. Healers, be sure to dispel the Collapsing Star DoT as its damage can get out of hand very quickly.
5. Go up the stairs to where the Nightbound Magi is to LoS the Dunesnare Hunters at the base of the stairs. You could go further up the stairs to LoS if the first stair landing isn’t enough to group them. Prioritize soaking the Nightbound Magi’s Constellation of Ruin to avoid wiping. There aren’t any other abilities to kick than the Shadow Bolt from Nightbound Magi.
Empyrean Sands Boss Guide
The Empyrean Sands boss fight is against Sin-Magir. This fight requires careful positioning throughout the encounter in order to avoid unnecessary damage.
Sin-Magir’s Abilities
| Name | Recast | Interruptible | Description |
|---|---|---|---|
| Penumbra | 60s | No | Create a sequence of 3 explosions that deals lethal damage. The first AoE is centered around the boss, the second is everywhere but the boss, and the final explosion is around the boss again. |
| Lunar Soulsear | 28s | No | Channel a large frontal beam that targets the party member with the highest aggro. Channel lasts for 3 seconds. |
| Ruinous Starfall | 23s | No | Summon 10 Ruinous Star orbs that do a long, unstunnable cast. When the cast ends, any remaining orbs are destroyed. Whenever an orb is destroyed by player damage or expiration, deal party-wide damage. |
| Darkstar Ruin | 30s | No | Summon Celestial Bursts to rain down on the battlefield, dealing damage in an AoE. |
| Lunar Beam (Adept+) | 18.5s | No | Send two beams through the arena depending on the positioning of the Moon Sigils. Deal lethal damage after a short charge-up time. |
Before the Fight
Make sure your healer has mana before engaging.
Remember: Keep yourself healthy by avoiding as much damage as possible. Dying can lead to a wipe.
Sin-Magir
This fight is positioning heavy with the constant barrage of Celestial Bursts from Darkstar Ruin, the Penumbra AoE patterns, the frontal beam from Lunar Soulsear, and, once you reach Adept+, the Lunar Beam.
When Ruinous Starfall goes out, it’s ideal to burn as many as possible as fast as possible while leaving 1 orb alive at low health to pop later. These orbs grant us a stacking 5% damage buff for 20 seconds. Ideally, we can kill 9 out of 10 orbs and then switch focus to burning the boss. Make sure to kill the final orb before it detonates to refresh your damage buff. Your healer will have to work to keep up with the party-wide damage that goes out when any orbs die/expire. Be cautious about killing too many too quickly for your healer to handle.
If you’re the tank and Ruinous Starfall is active, you can point the Lunar Soulsear beam at the orbs to deal damage to them.
Once you reach Adept+, the arena will begin to have Moon Sigils appear at the edges of the arena to indicate where their Lunar Beam will hit. With this, the arena is a 3×3 with 1 column and 1 row becoming a danger zone. As tank, try to position the boss proactively to avoid you or your teammates from getting hit by the Lunar Beams.
Wishlist Fellowship
If you enjoyed your time with Fellowship during the open beta, or if you’re at all interested in playing, be sure to wishlist the game on Steam. The game launches into Early Access on October 16th.