⏱️ – 13:20 💀 – 160
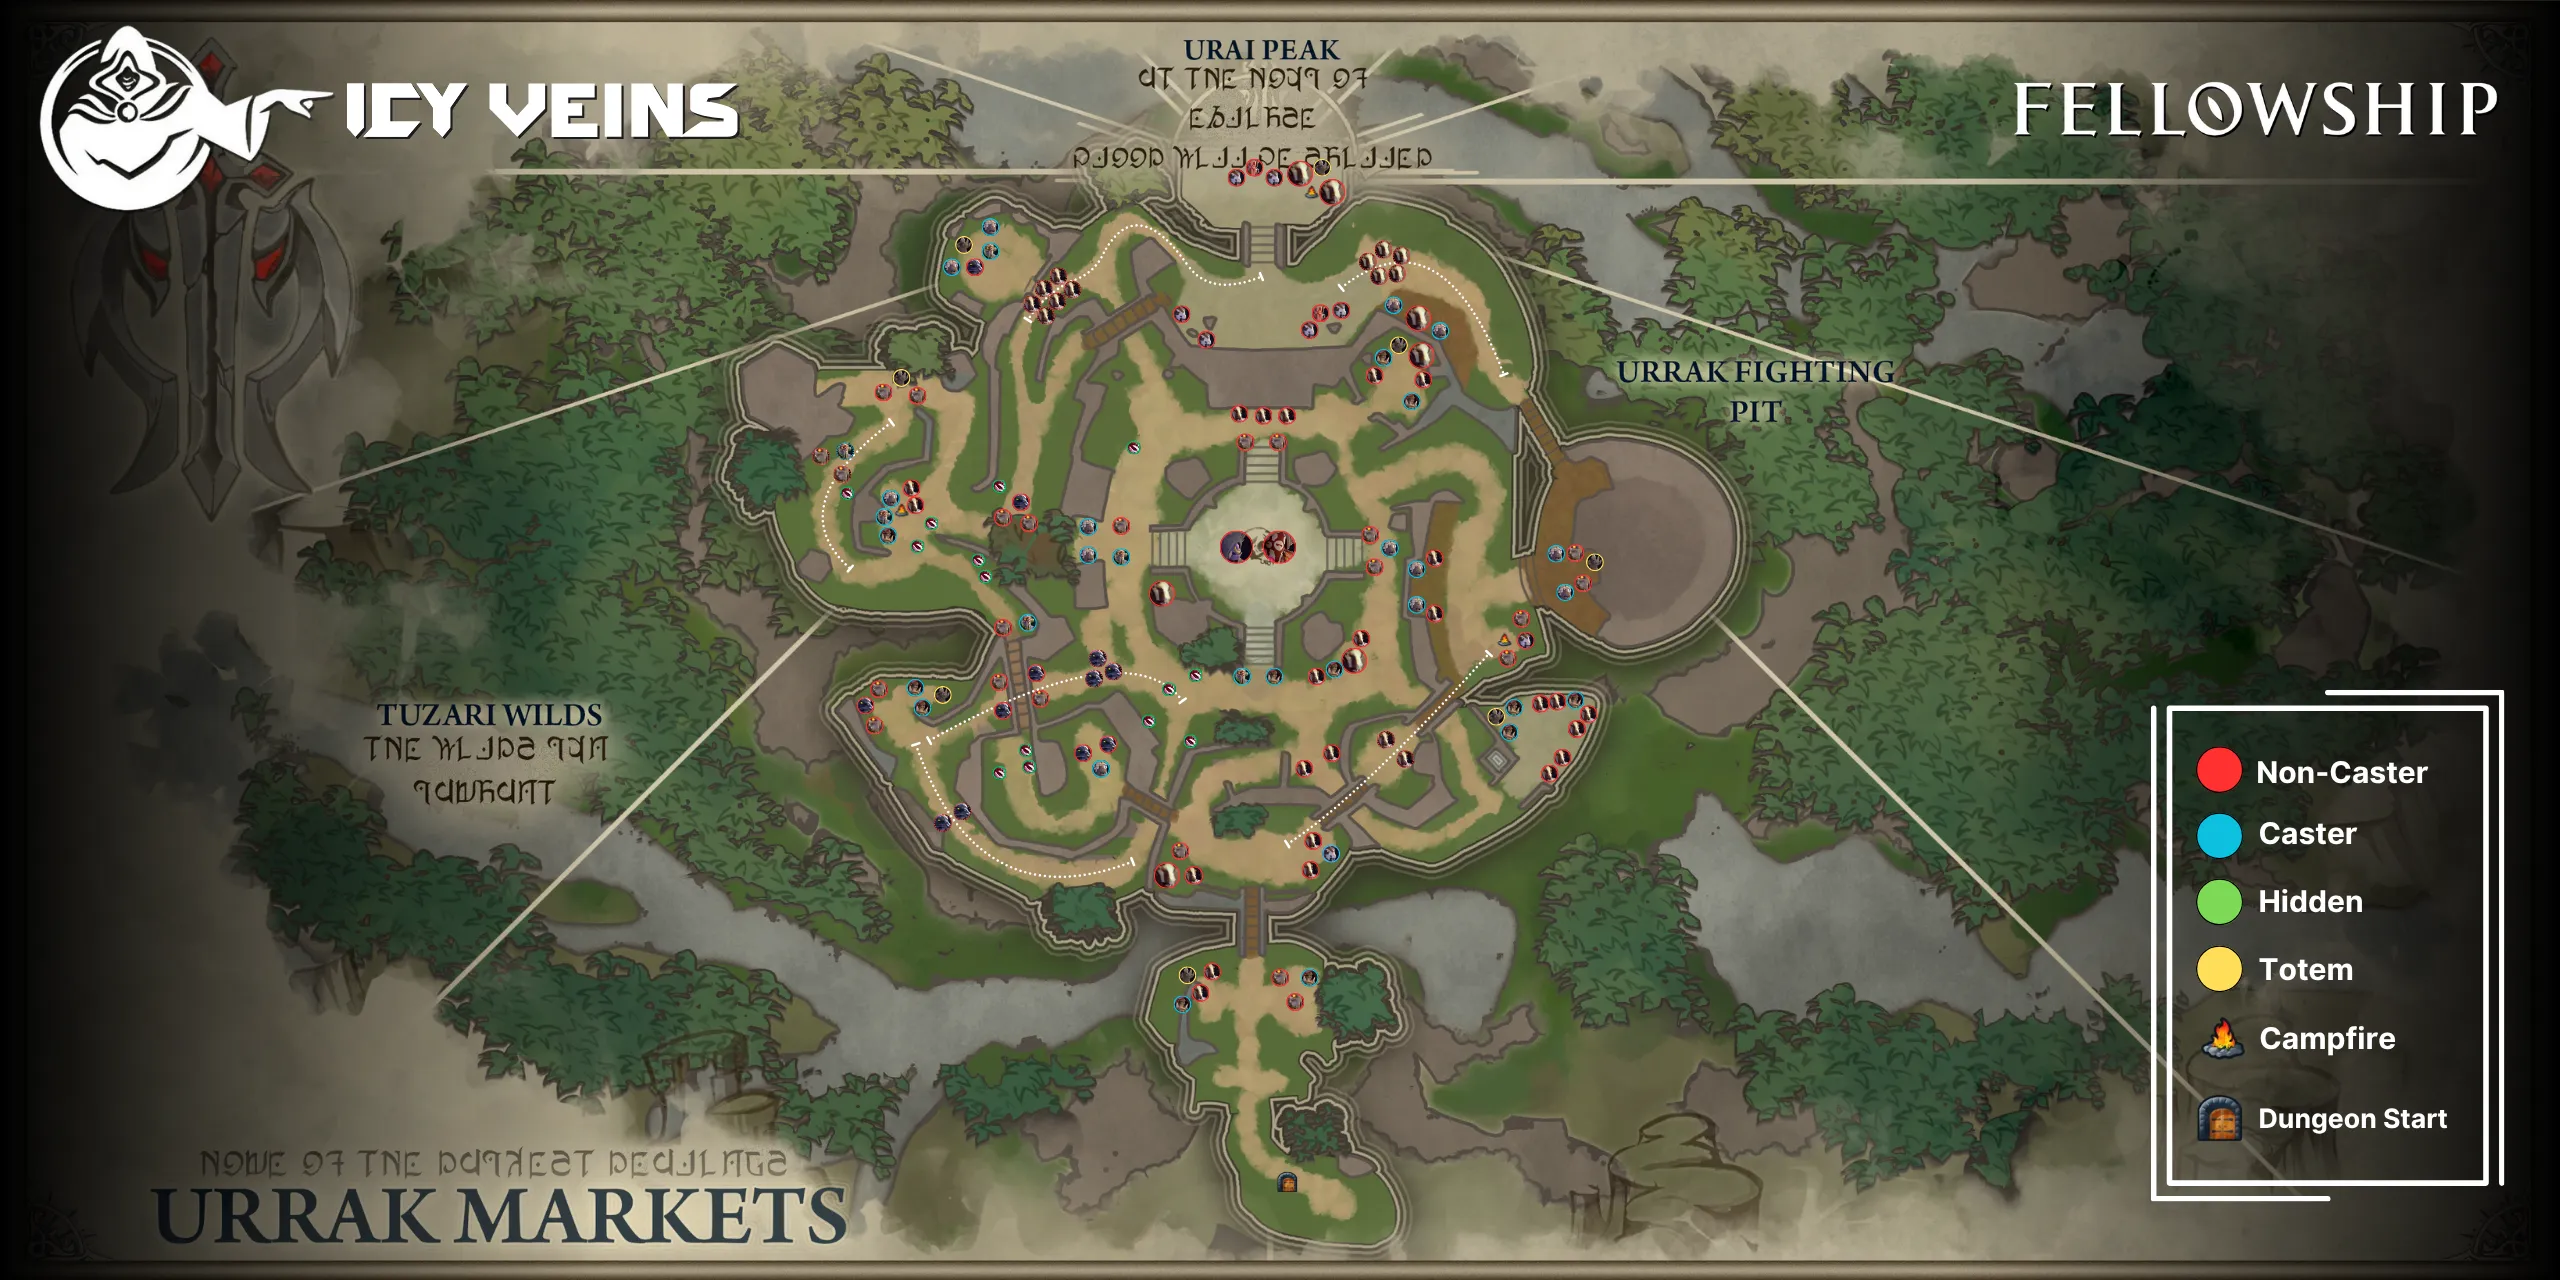
Urrak Markets is a jungle village within the Tuzari Wilds where slaves are traded for weapons and magic. Filled with native goatmen, living plants, vicious animals, and orcs, this place wants you to fail so you can be sold to the orcs of the Demonbrand Ruins. At the center of the dungeon, Slavetrader Brull and Drazhul the Fleshbroker await you.
Though not directly a pre-cursor to The Heart of Tuzari, you will note a few familiar enemies exists throughout.
Urrak Markets Map
Urrak Markets Trash Mobs
| Enemy | Name | Score | Stunnable | Abilities |
|---|---|---|---|---|
 | Slavebind Totem | 1 | No | Guarded One or more enemies is guarding this Totem, preventing it from taking damage. Kill the enemies Guarding this Totem to make it vulnerable. |
 | Outrunner | 2 | Yes | Attack Basic ranged physical damage attack. Bola Throw Throws a bola at a random party member, dealing moderate physical damage and applying a slow. Charge (Adept+) Charges their target if they are further than 10yds away, dealing moderate damage and knocking them up. |
 | Urrak Slaver | 3 | Yes | Auto Attack Basic melee physical damage attack Bloodlash Wake Casts an area of effect circle around himself, dealing moderate damage to any player still within the effect when the cast has finished. Barbed Chain (Interruptable, Adept+) (Priority) Connects two players together, causing them to take increased damage the further they are away from from each other. |
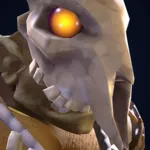 | Mancatcher | 2 | Yes | Auto Attack Basic melee physical damage attack Grip Targets a random party member more than 10 yards away. This player is pulled to the Mancatcher and slowed. |
 | Gorestained Butcher | 5 | No | Auto Attack Basic melee physical damage attack Furious Tantrum Casts and then channels heavy wide party damage every 2s over 4 seconds. Mince (Adept+) Move towards his target slowly and deals damage within a small cone in front of his every 0.5s for 8 seconds. |
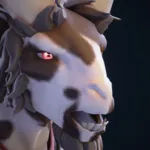 | Desecrator | 3 | Yes | Shoot Basic ranged physical damage attack Volley Channels a barrage of explosions nearby, dealing damage to players caught within the blast. Infernal Explosive (Adept+) Tosses a bomb near a random player. Upon expiration, the bomb deals a small amount of damage to any target within the circle. If no target is within the circle, it deals heavy damage to the entire party. |
 | Bloodfang Raider | 3 | Yes | Auto Attack Basic melee physical damage attack Shred Deals damage to all players in a small cone |
 | Slaughtervine | 1 | Yes | Auto Attack Basic melee physical damage attack |
 | Bloodfang | 3 | Yes | Auto Attack Basic melee physical damage attack Shred Deals damage to all players in a small cone |
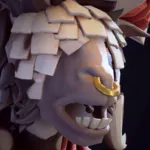 | Horned Seer | 3 | Yes | Auto Attack Basic melee physical damage attack Pain Bolt (Interruptible) (Priority) A single target direct damage spell that deals high damage. Orb of Blood (Interruptible) Targets a random player and casts a slow moving orb in their direction. Upon hitting the target they take high damage, and applies a debuff that increases their damage taken Sanguine Offering (Interruptible, Adept+) Summons Orb of Blood nearby random players that move in their direction. |
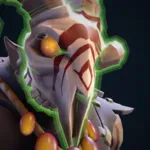 | Urrak Witch | 3 | Yes | Auto Attack Basic melee physical damage attack Mossfire Bolt (Interruptible) A single target direct damage spell that deals moderate damage. Grasping Vines (Interruptible) Targets a random player and creates a patch of vines underneath them. The vines slow and deal damage to any player inside. Jungle Rot (Interruptible, Adept+) (Priority) Applies a damage over time effect to the entire party |
 | Hellcaller | 4 | Yes | Auto Attack Basic melee physical damage attack Restore Vitality (Interruptible) (Priority) Targets a nearby friendly NPC and heals them Armageddon Creates a pattern of ground effects, dealing damage to any party member within the effects. Demonic Lash (Adept+) Deals moderate damage to the target. |
Notable Trash Enemy Abilities
Slavebind Totem: This neutral unit has a damaging area of effect around itself. It begins combat immune, but becomes vulnerable once its nearby guards are defeated. Destroying the totem grants all players a buff called Breaker of Chains, a buff that increases Cooldown Recovery by 30%.
Outrunner: The Charge ability can be a huge nuisance when trying to gather enemies. It not only knocks the tank up, but the damage from the charge is nothing to scoff at.
Urrak Slaver: These enemies are simple in Contender, but in Adept+ you must be mindful of their Barbed Chain cast. This chains two players together, causing quite a bit of damage even in lower difficulty levels.
Horned Seer: Many of the Seer’s casts are interruptible and dangerous. Your group will want to prioritize interrupting Pain Bolt. While the orbs from the Orb of Blood are predictable, the orbs from Sanguine Offering appear from random locations and can be more tricky to avoid.
Urrak Witch: The witch’s Jungle Rot applies a heavy damage over time effect to all party members. This should be a priority interrupt regardless of the enemies currently grouped.
Urrak Markets Boss Guide
The Urrak Markets boss fight is the only duo boss fight in the game, pitting you against Slavetrader Brull and Drazhul the Fleshbroker. This fight requires careful interrupts, party positioning and planning. However, with proper interrupts, this fight can be much easier than other bosses at the same difficulty.
Slavetrader Brull Abilities
| Name | Recast | Interruptible | Description |
|---|---|---|---|
| Wild Bolt | – | Yes | Short cast that does heavy damage to the main target. |
| Wildroot Thorns | 60s | No | Targets a random party member, other than the current target, and spawns a patch of vines at their location. |
| Creeping Decay | 20s | No | Casts an uninterruptible spell at their current target dealing heavy damage. |
| Enrage | – | No | Causes the boss to deal 2% more damage for every 1% more health he has over Drazhul the Fleshbroker. |
Drazhul the Fleshbroker Abilities
| Name | Recast | Interruptible | Description |
|---|---|---|---|
| Conjure Scythe | 15s | No | After a 2.5s cast, Drazhul tosses a scythe at the furthest party member. Upon hitting terrain, the scythe will ricochet around the room, applying a 12s damage over time effect on any players that come into contact with it. |
| Vortex | 60s | No | Drazhul leaps to the center of the room and begins casting Vortex for 3s. Upon finishing the cast he then channel Vortex which begins sucking in all players and scythes. |
| Furious Tantrum | 30s | No | Channels heavy party wide damage every 2s for 4 seconds.. |
| Enrage | – | No | Causes the boss to deal 2% more damage for every 1% more health he has over Slavetrader Brull. |
| Infernal Explosive (Adept+) | 60s | No | Targets a random party member and tosses a bomb near their location. The bomb deals a small amount of damage to anyone caught within after it’s expiration. If no target is within the circle when it explodes, it deals heavy damage to the whole party. |
Before the Fight
Assign a ranged DPS or your Healer to stand at ranged while everyone else stays near the bosses. Also remember to watch their health and ensure they’re at roughly the same percent the entire fight.
Slavetrader Brull
Slavetrader Brull doesn’t need to be tanked in any specific location and will naturally stay with the group as long as Wild Bolt is being interrupted.
Throughout the fight, Brull will constantly cast Wild Bolt. Because this is the only interruptible ability in the fight, creating an interrupt rotation should be relatively easy. If a cast does go off, it’s not the end of the world, but be ready for the next one.
Brull only uses Creeping Decay on his current target. This is a hard hitting ability commonly known as a “tank-buster”, so the tank and healer will need to be prepared for the sudden spike in damage here.
A random party member will be targeted by Wildroot Thorns, applying a debuff displayed as circle. When this debuff expires, it places vines on the ground. The targeted player should move away from the center of the room to drop the vines, as they are extremely important for a later mechanic.
Drazhul the Fleshbroker
Furious Tantrum is identical to the ability used by Gorestained Butchers. It’s a short, two tick damage over time channel that shouldn’t be too much trouble for your healer.
You can control Conjure Scythe by having your designated ranged DPS or healer be the furthest player from the boss. This forces Drazhul to target that player, giving your group complete control over its initial direction. Even one player getting hit by this will require a heavy amount of healing, so be warned. Always remember that the scythes ricochet around the room, so be aware of their movement.
Drazhul telegraphs Vortex by jumping to the center of the arena. After the initial cast, he channels a Vortex that pulls in all players and any scythes to his location. To survive, you must use the vines from Wildroot Thorns to slow your movement enough to avoid being pulled in.
In Adept+, Drazhul will cast Infernal Explosive. This bomb lands near a random party member and someone must stand in it until it explodes. If no player is inside the circle when it explodes, it will deal massive damage to the entire party. This can be dangerous with the scythes bouncing around the room.
Beginner Friendly Route
First and foremost, do what you’re comfortable with. If some of these pulls seem too large, feel free to break them down into smaller groups. There are several opportunities here to customize the size of each pull, including pulling more if you feel confident. As mentioned earlier, you can pull the bosses at any point in the dungeon, whatever feels best to you and your group. If you want to pull them as soon as your Spirit Ability is ready, go right ahead.
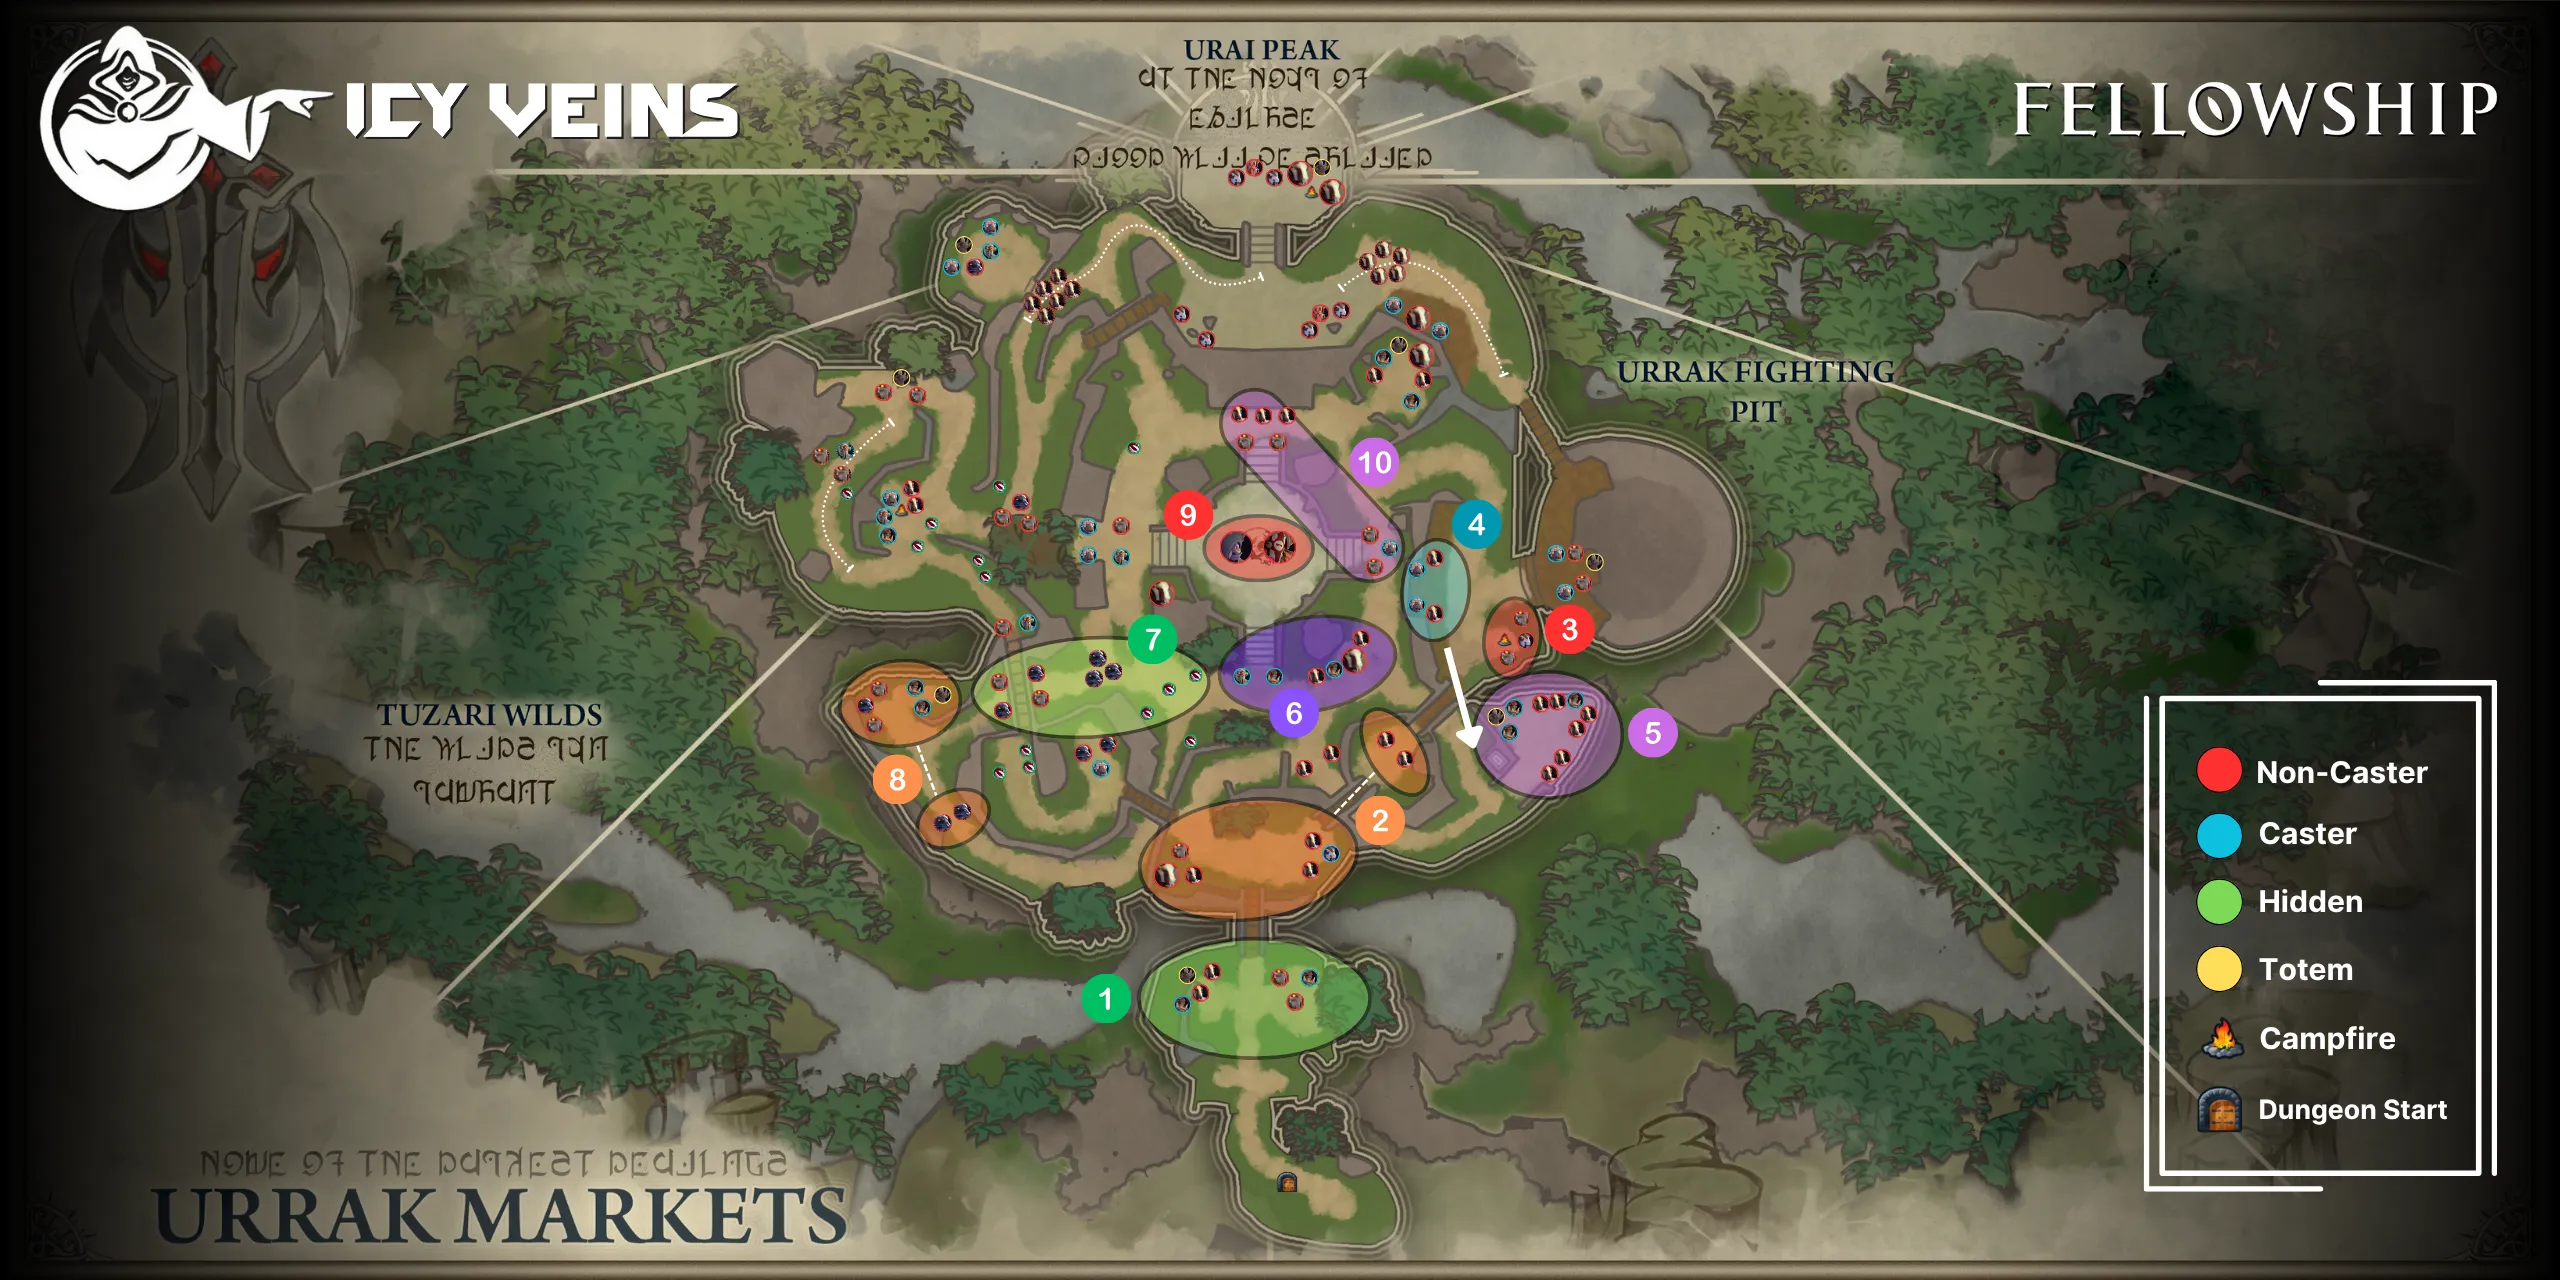
| Pull | Pull Size | Kill Score | Enemies |
|---|---|---|---|
| 1 | 7 | 18 | 2x Urrak Slaver, 2x Mancatcher, 2x Outrunner, 1x Slavebind Totem |
| 2 | 8 | 20 | 5x Outrunner, 1x Gorestained Butcher, 1x Desecrator, 1x Mancatcher |
| 3 | 3 | 7 | 2x Mancatcher, 1x Desecrator |
| 4 | 4 | 10 | 2x Outrunner, 2x Horned Seer |
| 5 | 10 | 25 | 6x Outrunner, 3x Urrak Slaver, 1x Slavebind Totem |
| 6 | 6 | 18 | 2x Outrunner, 2x Urrak Slaver, 1x Gorestained Butcher, 1x Urrak Witch |
| 7 | 10 | 22 | 5x Bloodfang Raider, 3x Slaughtervine, 2x Mancatcher |
| 8 | 8 | 23 | 3x Bloodfang Raider, 2x Urrak Slaver, 2x Mancatcher, 1x Slavebind Totem |
| 9 | 2 | 0 | Drazhul the Fleshbroker & Slavetrader Brull |
| 10 | 8 | 17 | 4x Mancatcher, 3x Outrunner, 1x Horned Seer |
| Total Score | 160/160 |
