
With Arknights: Endfield 1.1, the Wuling Outpost finally got its Level 3 Early Warning event, and we are not going to lie, it is a bit trickier than the previous ones. If you have been wondering how to make it through the auto defense phase without losing your tower, here is a setup that works well.
Creator Sunny Senpai shared a video of the easiest way to complete this auto-defense level. You can check out the video directly here:
Getting Ready
Before you can even start the Level 3 auto defense, make sure you have got a few things in place:
- Upgrade your Outpost to Level 3 – this triggers the Early Warning event
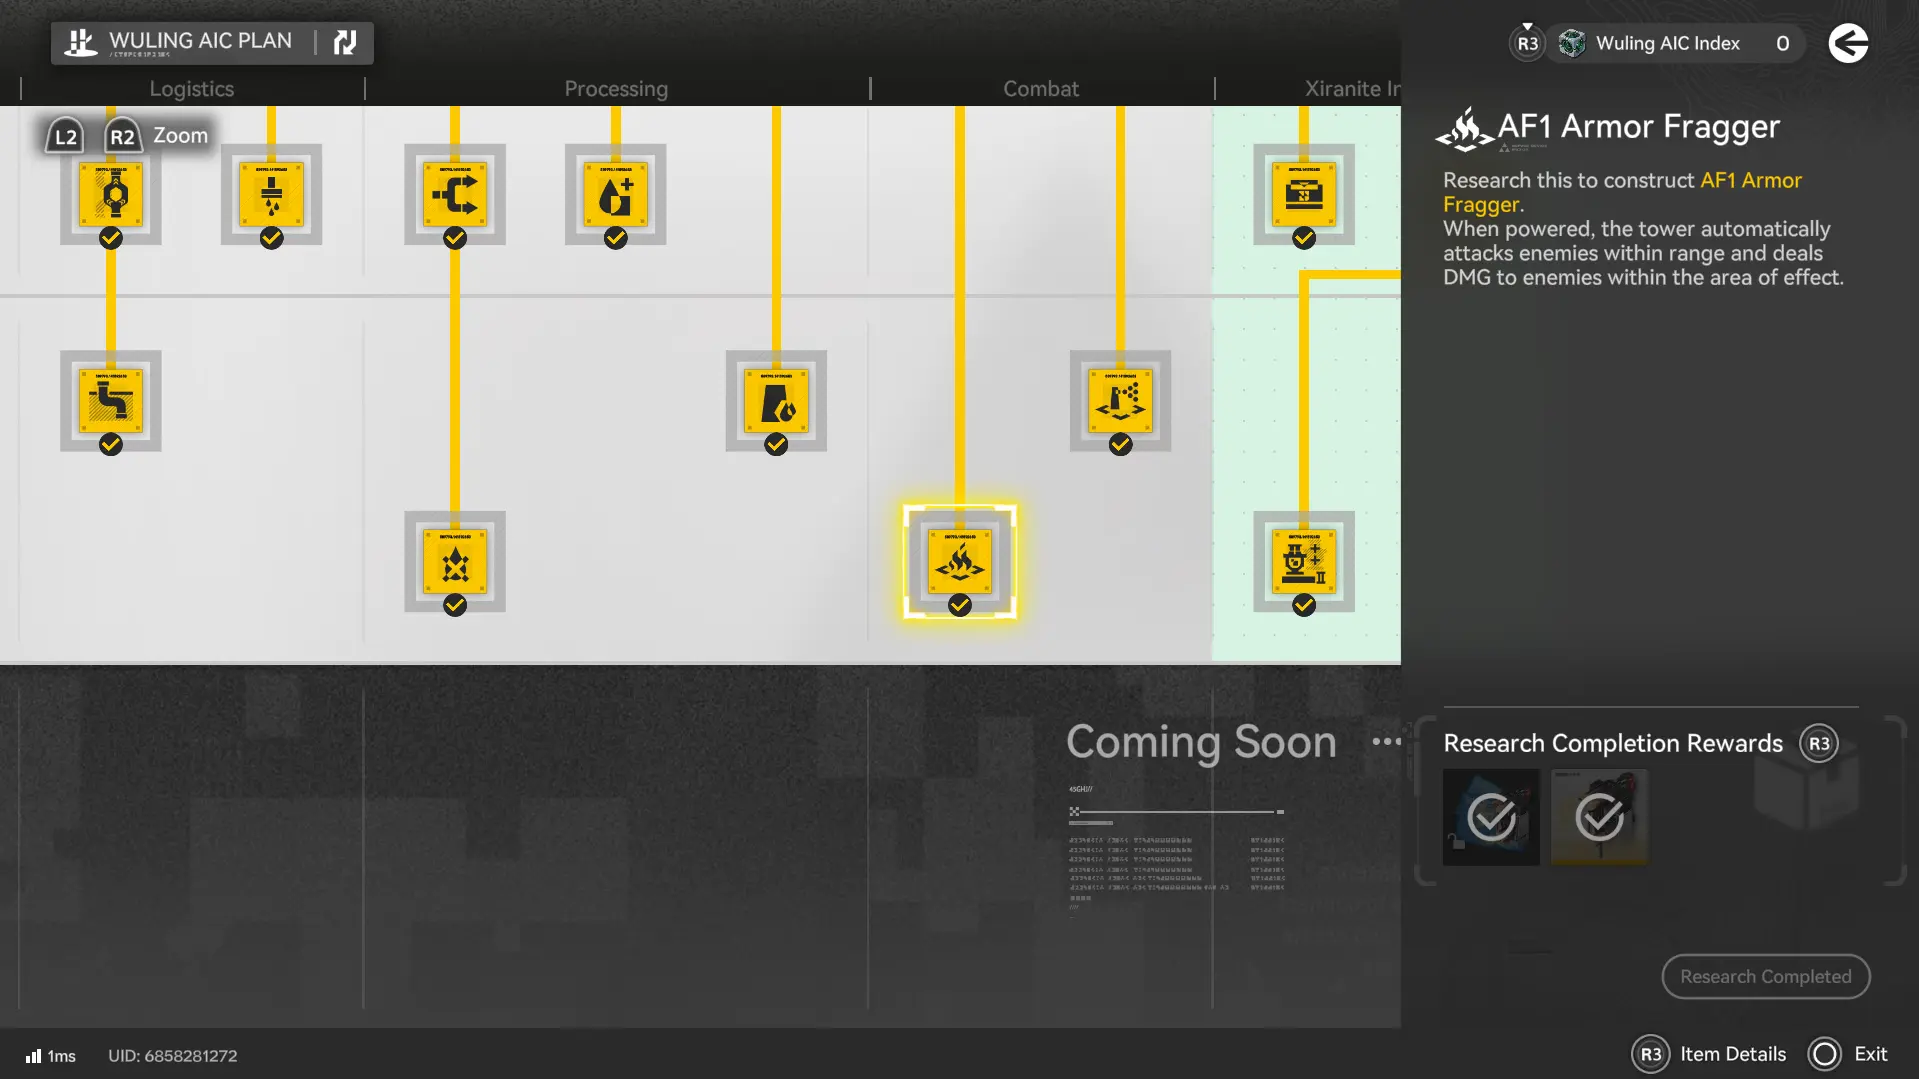
- Finish the story content to unlock the Wuling AIC II blueprints
- Acquire the AF1 Armor Fragger machine – this one is needed for this setup
Once that is done, you are ready to start the event.
Auto Defense Phase 1: Placing Your Facilities
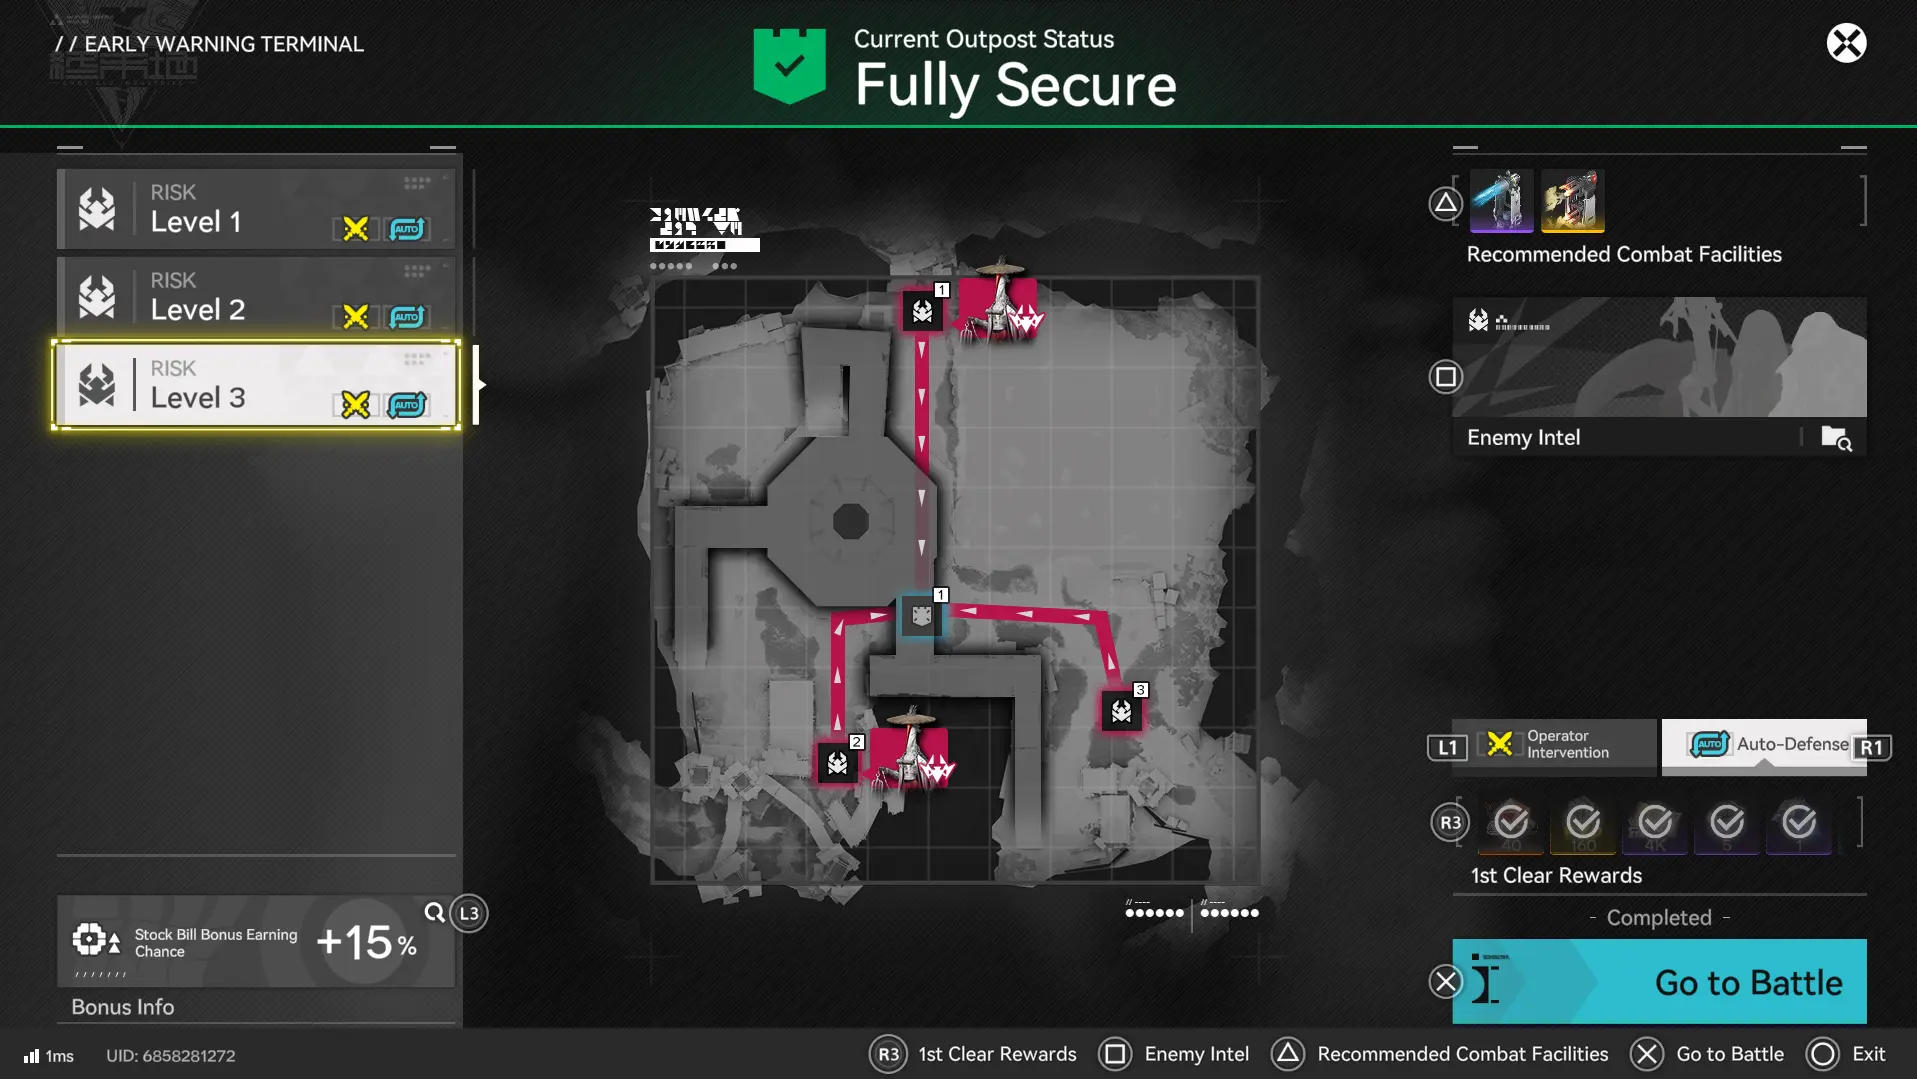
You will get 13 facility slots this time, and enemies come from three directions: left, right, and top, meeting in the middle of the zone on the tower you need to defend. This means that you have to cover all three entrances if you want to make it through.
When you start the event, you get to place down your defensive facilities. You will then see Red Lines on the ground that will show you exactly where enemies will enter.
From the Warning Signal Monitor, you want to head in front and do the left entrance first:
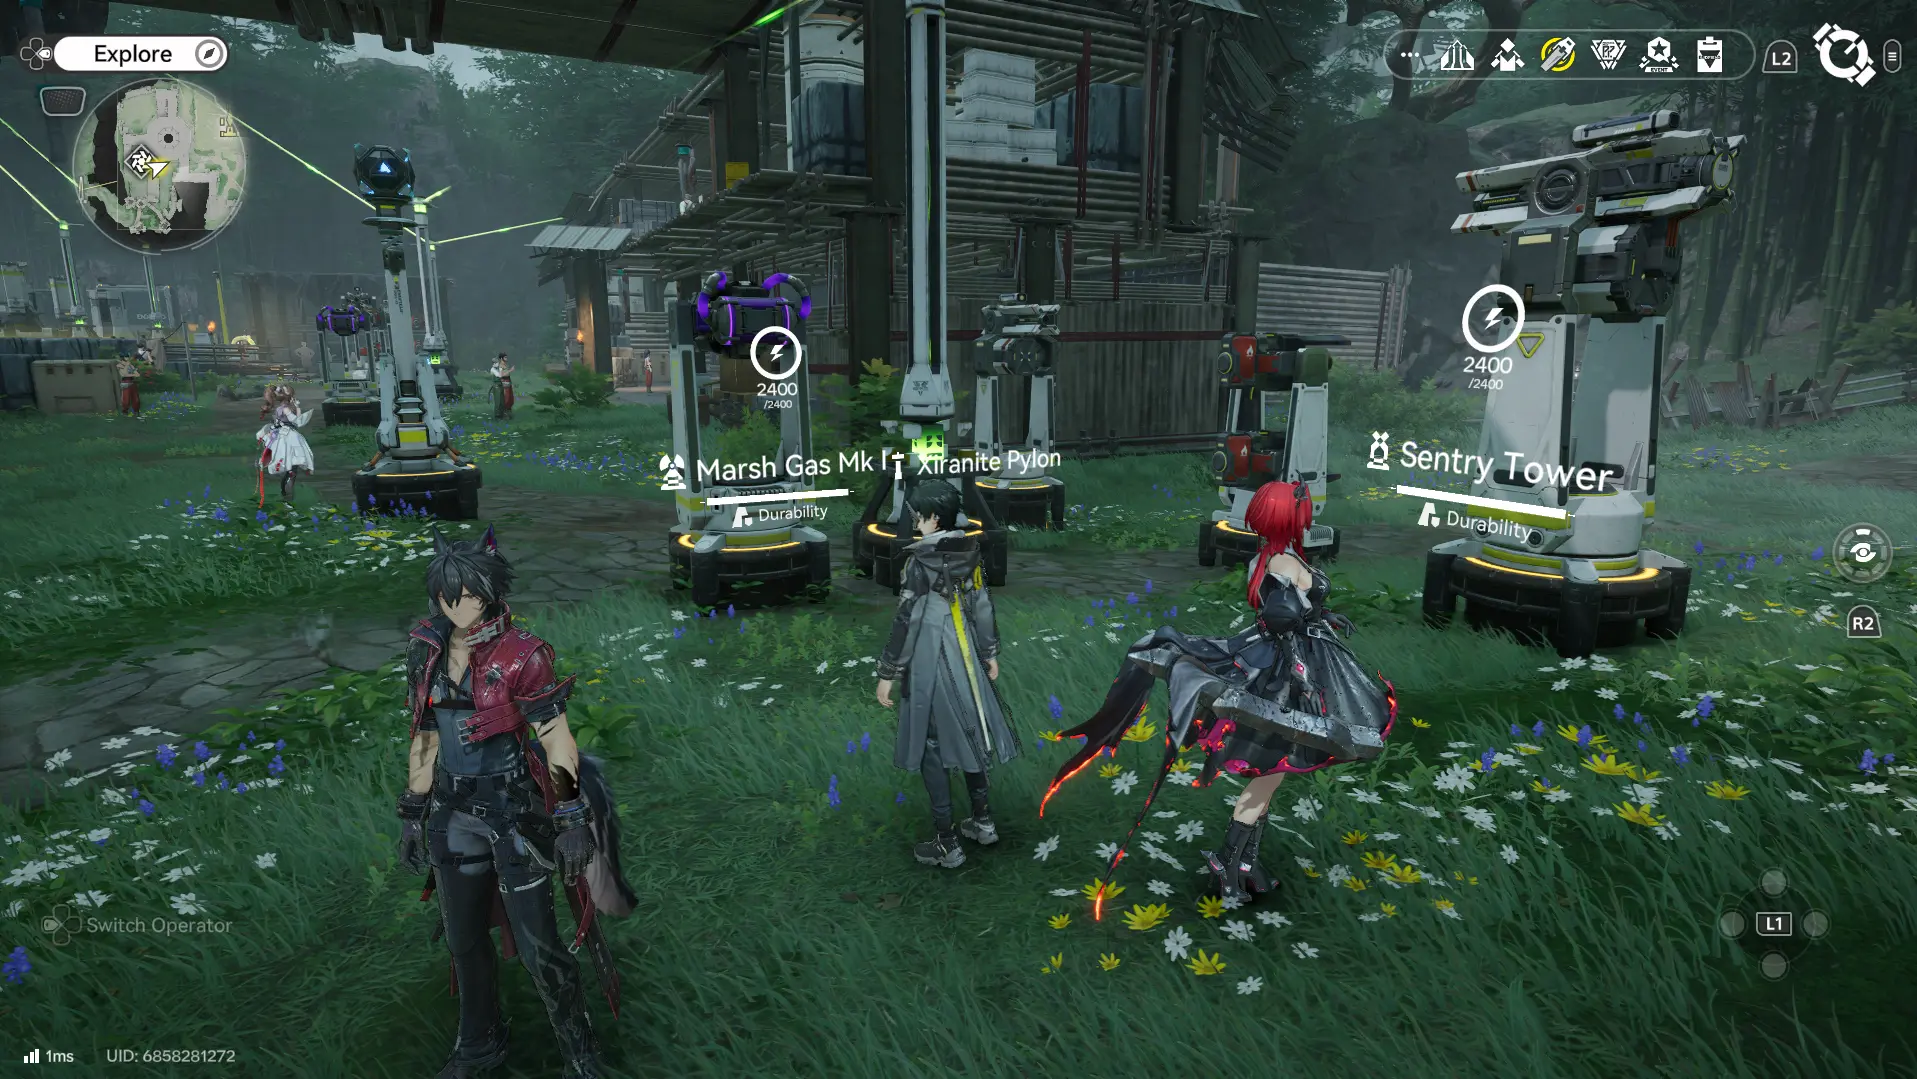
- Place a Xiranite Pylon a bit before the angle in front of the building
- On the red lines in front of the pylon, put a Marsh Gas MK I
- Nearby but still within the pylon’s radius, set a Sentry Tower
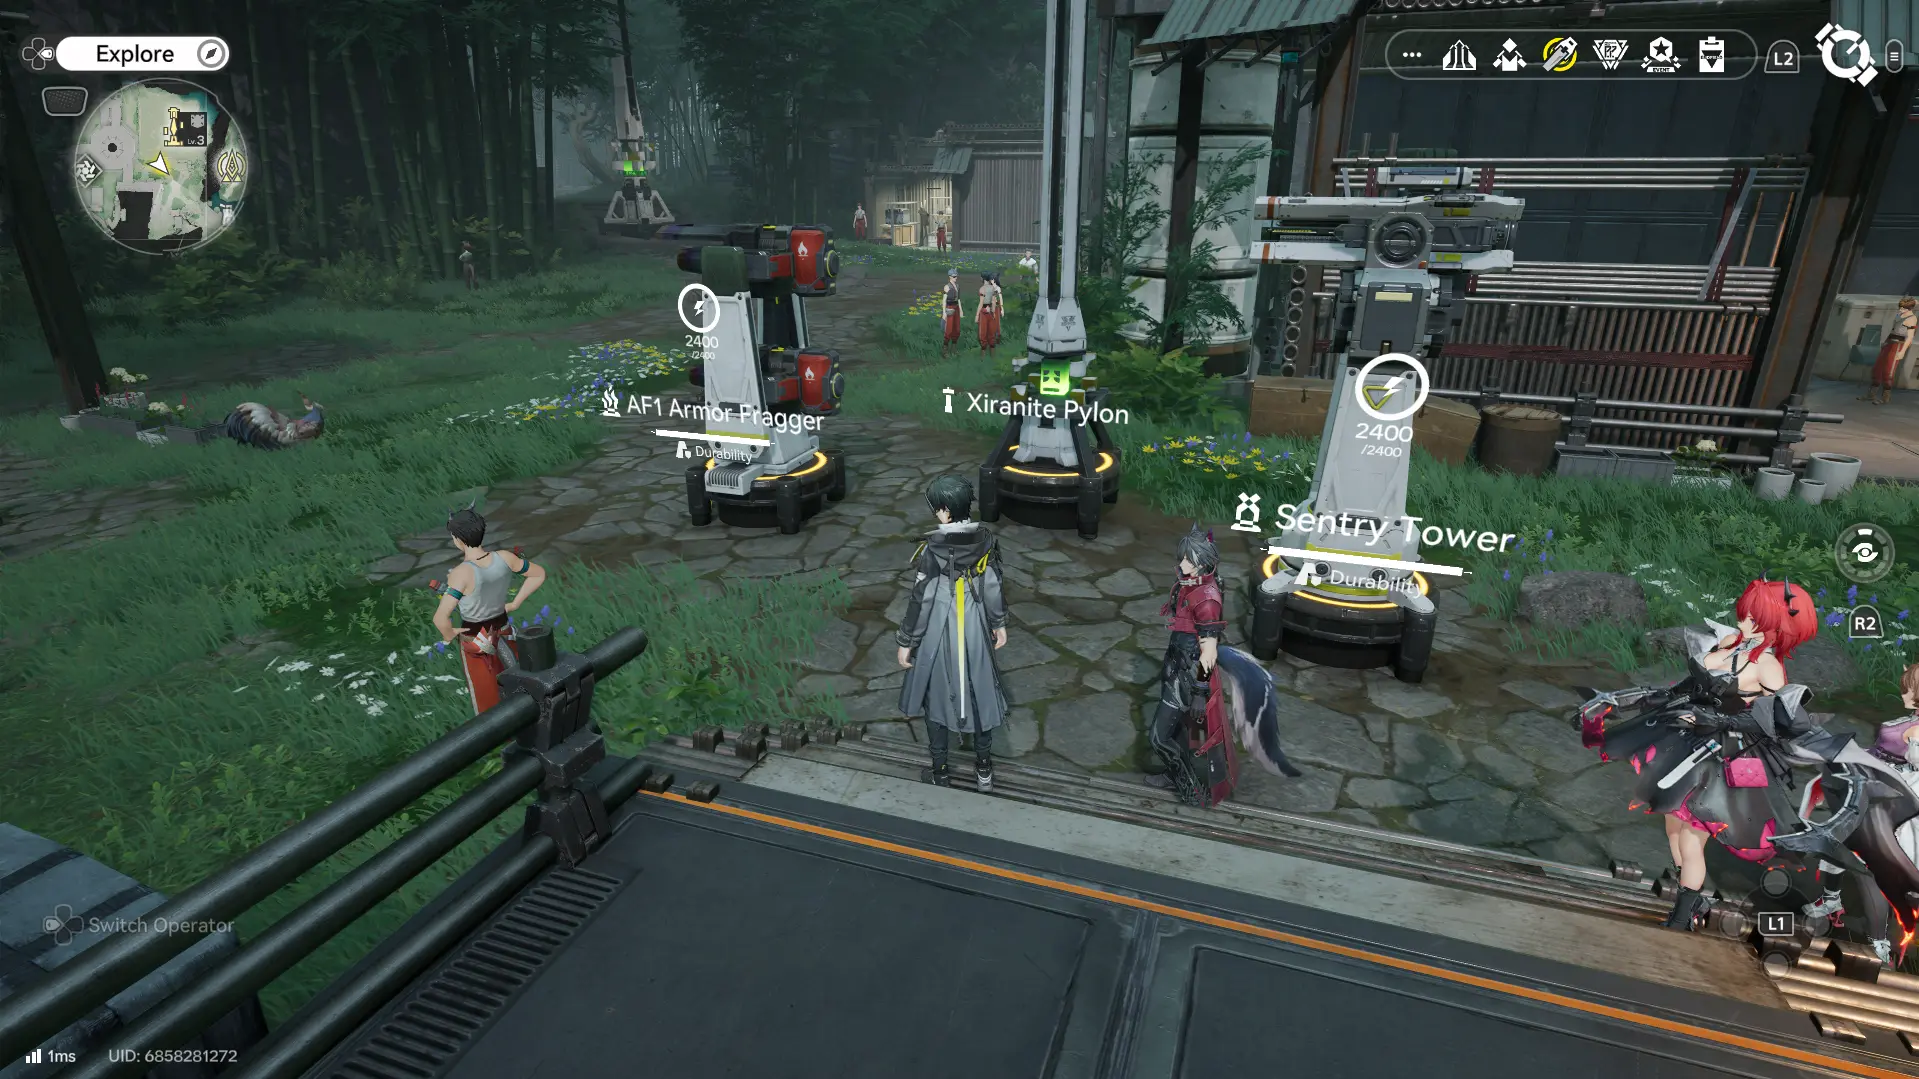
- Behind the pylon on the red lines, place an AF1 Armor Fragger facing the incoming enemies
- On top of the AF1, place another Sentry Tower
Next, head to the Tower in the middle and up left to the top near the entrance of the Outpost:

- Near the stairs on top, place an Xiranite Pylon
- On the red lines in front of it, put a Sentry Tower
- Behind the Sentry Tower, aligned with the red line, place a Marsh Gas MK I
- In front of the Sentry Tower, also on the red line, place an AF1 Armor Fragger
This basically creates a straight line of machines, covering the middle path efficiently.
For the last part, head back towards the middle, and stay closer to the Tower to cover the last entrance:

- Place a Xiranite Pylon for electricity
- On the red line in front of it, a Sentry Tower
- Behind the Sentry, place a Marsh Gas MK I
- In front of the Sentry, place an AF1 Armor Fragger
As always, make sure everything is nicely aligned and inside the Pylon’s radius, otherwise some of your machines will not be powered and will not work. This setup handles all three entry points well, and you will still have three slots left for additional machines. You do not have to add any, as it should work perfectly fine without any additional facilities. However, what we did was add a Pylon and two more machines near the third entrance to cover it a bit early before they hit the middle zone.
We basically just added an AF1 Armor Fragger and a Sentry Tower.
A good tip is to also put a machine near the central tower that can cover a wide area, just to catch anything that might slip through. But with this layout, you should be safe and keep your tower intact.
For more guides and information, check out our latest news!